I want to show you how to draw lips step by step! Now, this is my third tutorial focusing on facial features. Personally, lips are my second favorite facial feature, with eyes being the first. With that said, are you ready to pucker up and learn how to draw kissable lips? If so, let's jump right into this lesson.
Like all my tutorials, I like to start with research. This step is crucial if you aren't familiar with lips because lips can be confusing to draw, especially when they open with the mouth. To understand this facial feature better, I like to turn to Pinterest to find reference photos. You can also use yourself as a model and use a mirror or phone to view your lips. You can also use my inspiration board at the link below!
This tutorial is pretty simple, and you can follow these instructions using pencil and paper. But I know a lot of you artists like digital art. With that in mind, I created this tutorial in Procreate. If you don't have Procreate, you can still follow this lesson with any drawing software.
Once you have all your reference images sorted out. I recommend doing a warm-up sketch session for at least 10 minutes; this will help loosen up your hand. You can either draw random lips or anything thing you want. The idea is to warm up the small muscles in your hands. Think like a bodybuilder, and stretch your hands out!
The first step is to draw a center curve followed by a curve on the bottom and a curve on the top. The top line is smaller than the bottom.
Digital users, you can either sketch in blue or any other color you like. I like using blue for all my sketch layouts. For pencil and paper users, press down very lightly for your sketch.
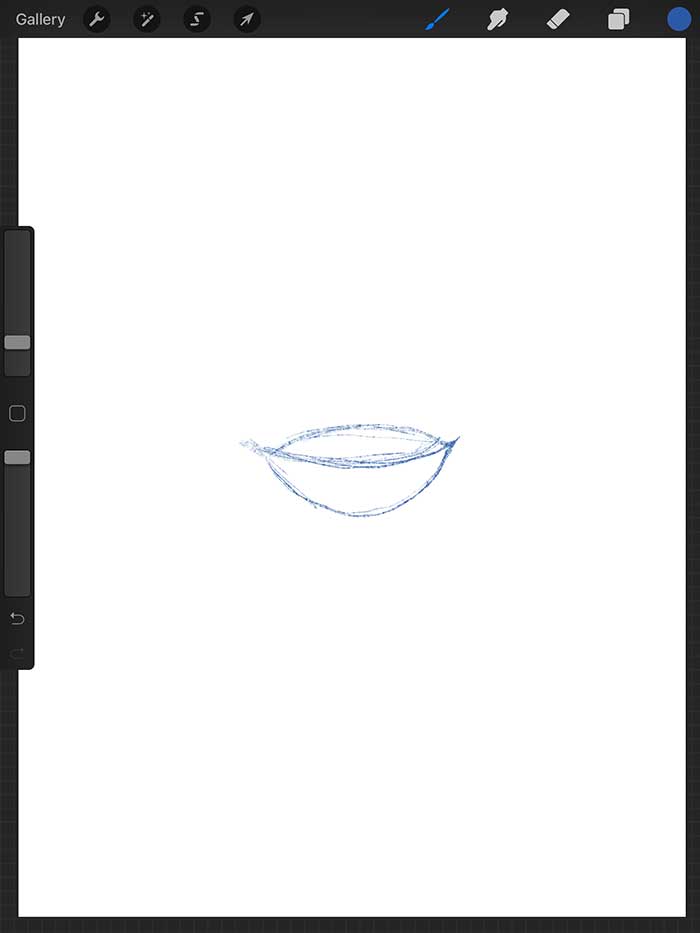
Next, we want to draw in some guides to shape the overall look of our lips. I like using teardrops and oval shapes for this step. The top lip will need a notch called a cupid's bow. Use the diagram below as a guide. Notice how I use my sketch to create the negative and positive shapes for the upper lip.
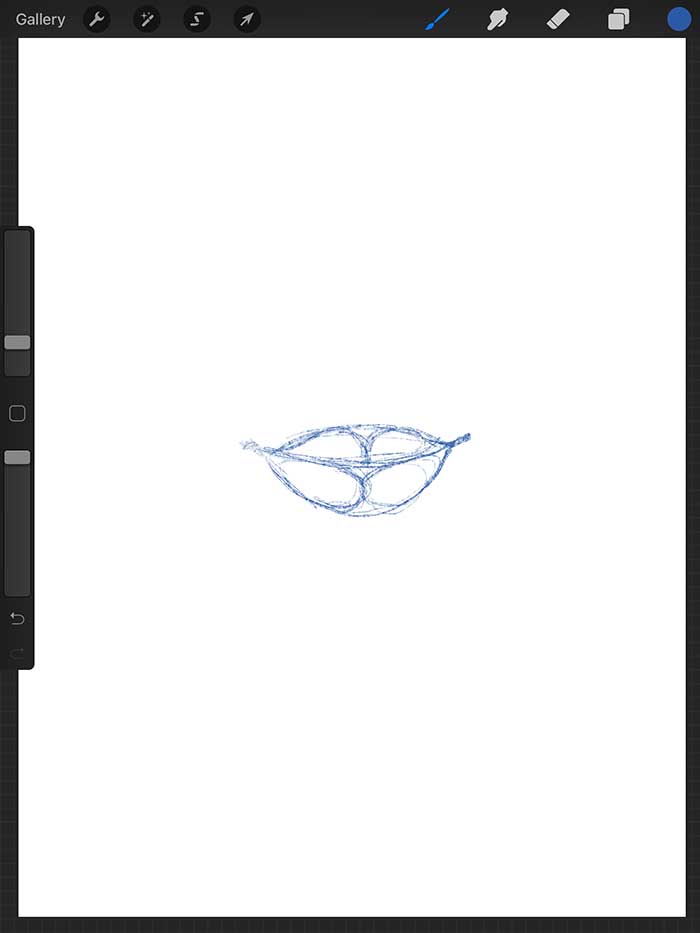
For digital users, drop the layer opacity of your sketch layer to 30%. Pencil and paper users, make sure you are keeping your lines faint.
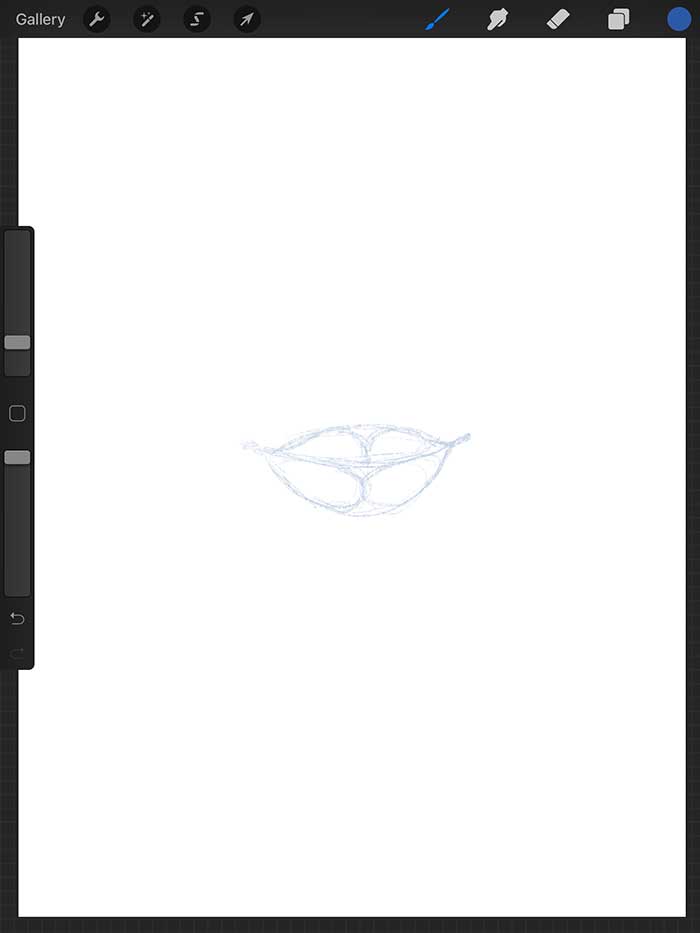
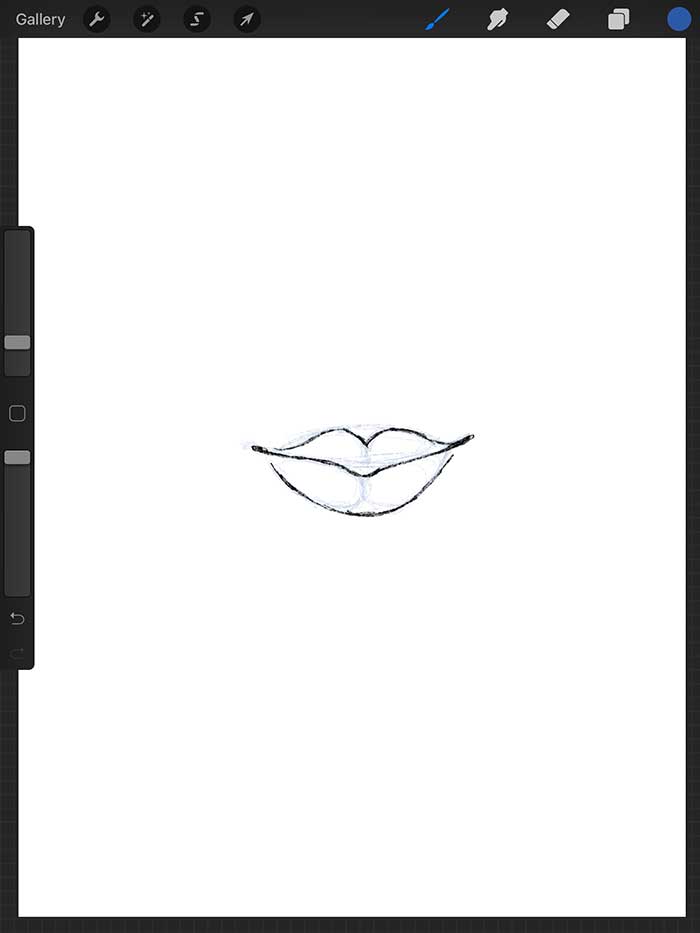
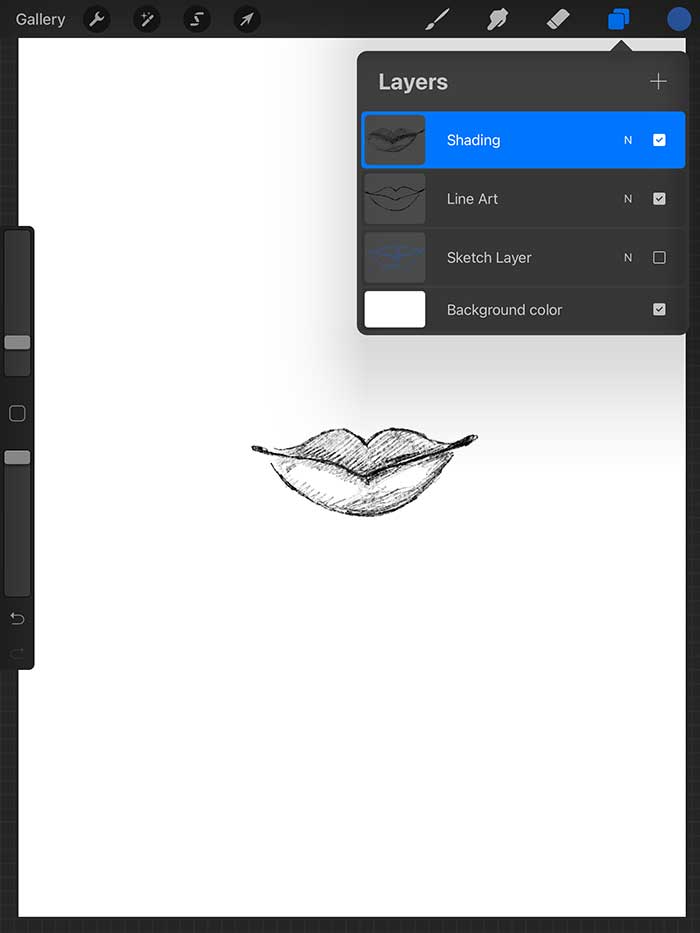
Create a second layer and place it on top of your sketch layer. Use this layer to refine the details of your sketch. For this step, I like to switch to black.
Traditional users, press firmer on your pencil to refine your detail. Use your eraser to remove any unwanted markings.
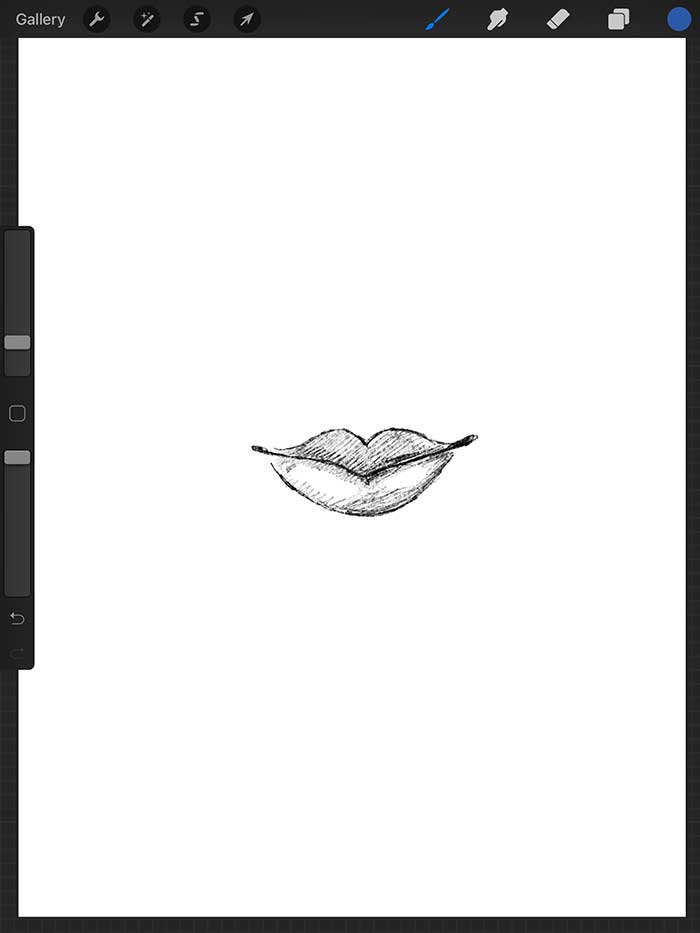
The last step is the fun part, and that's to add shadows to our lips! A helpful tip on shading the lips is that the top part is darker than the bottom. Also, keep in mind that the center crease in the middle is the darkest. The corners of the lips are also bold. Notice how they have a slight roundness to them.
If you are a digital user, your layer panel should look something like this.
If you made it this far, you have completed drawing some lips! Do they look kissable and full? I hope they do; and that you learned something from this lesson because that's how you draw lips.
Did you like this tutorial? Leave a comment below. Feel free to share this lesson with your friends and family, and don't forget to follow me on social media too @howtodrawdojo and @dreampigment. If you have any questions about this tutorial, contact me directly. Lastly, I hope you have fun drawing!
Warning: Undefined array key "preview" in /home2/dreampigment/howtodrawdojo.com/wp-content/plugins/oxygen/component-framework/components/classes/comment-form.class.php on line 79