Do you want to learn how to draw a snowman? Because I want to teach you how to illustrate this fun winter character! If you don't know what a snowman is. A snowman is a character made of real snow with body accents of coal and a carrot for a nose. They also wear a scarf and a top hat. However, they are tons of ways to design a snowman! Let us learn how to draw a snowman step by step!
Before we start drawing, we need to look up some reference images of snowmen and get some inspiration. We can look at photos of snowmen that people build out of real snow as well as seasonal winter decor. Below is a button to my inspiration. Note, you can always create your source of inspiration on Pinterest too.
Once you have a general idea of what a snowman is, the next thing to do is warm up with some quick sketch studies. Warm-up sketches on paper or tablet help a lot in figuring out the design and composition of your snowman. I would recommend a 10-minute session of this. Keep as loose as possible; do not worry too much about detail. And if you need more time to explore, take however much more time to build your confidence.
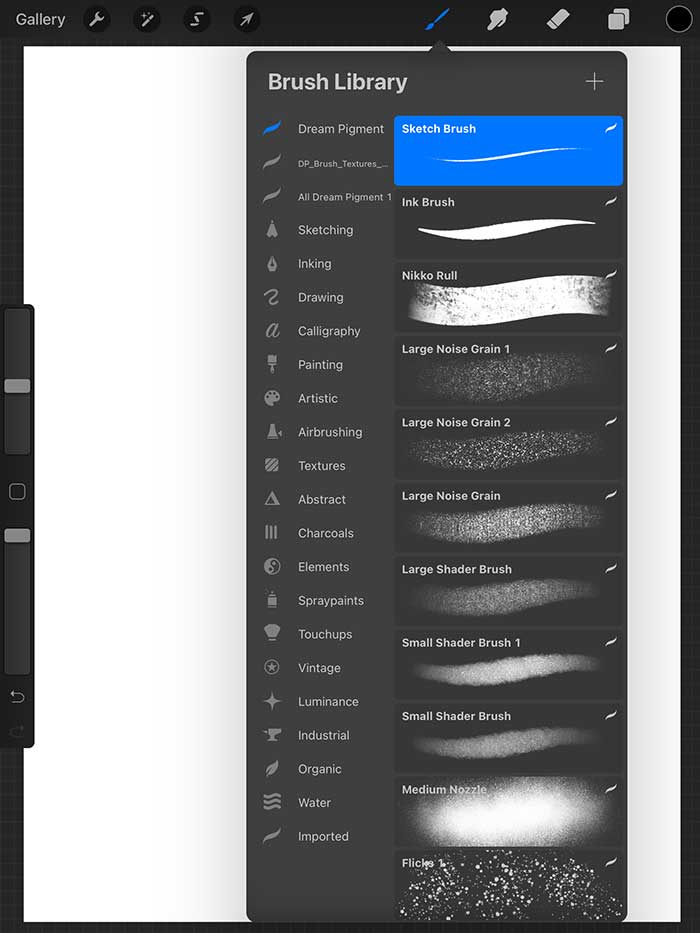
In this tutorial, you can follow these steps either using any drawing app or with a pencil and paper. And if you want to follow along with me, I am using Procreate 5 with a pencil-like brush called "Sketch Brush." You can download my set for FREE at the link below.
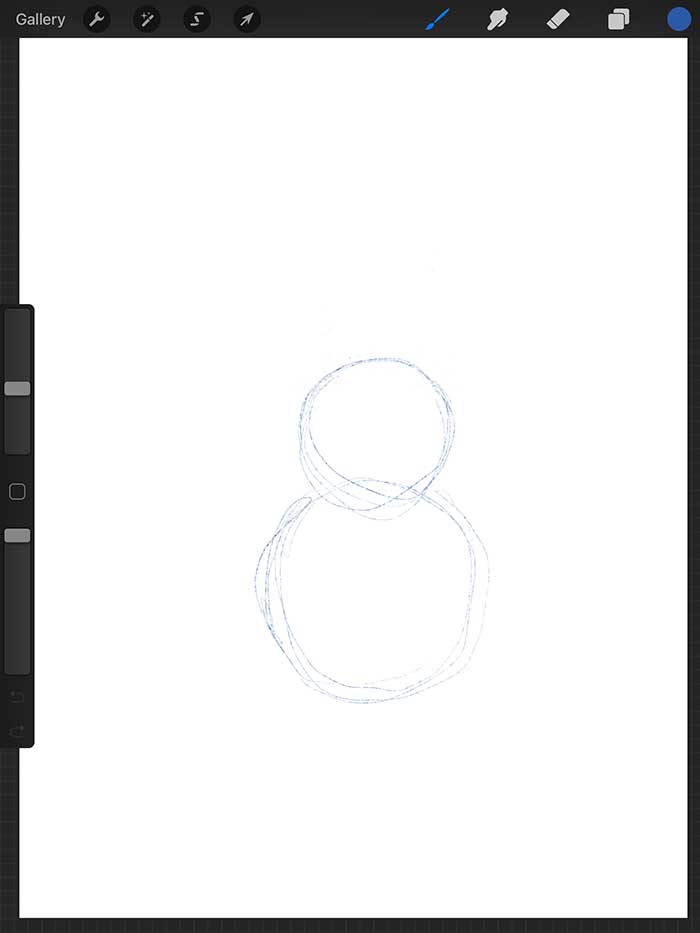
For the first step, sketch two circles for the snowman's body and head. Have a small circle for its head and a large circle for the body.
I would recommend sketching out in blue color when drawing digitally. And for pencil and paper, keep your makes very light!
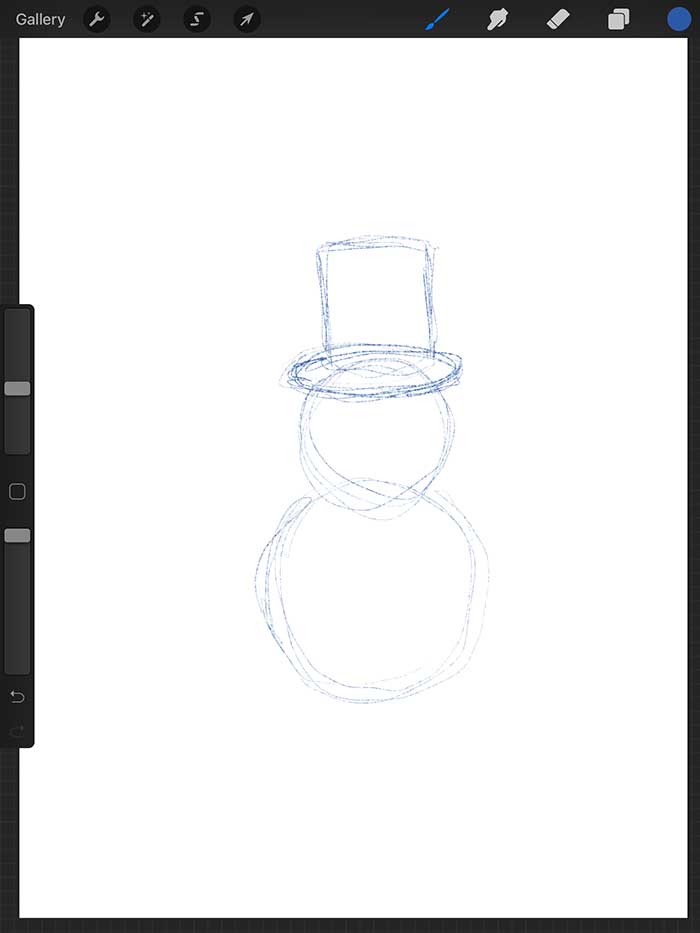
Next, loosely draw out the snowman's top hat with an ellipse and rectangle. It is okay to overlap your shapes. Keep in mind that this is your rough layout sketch.
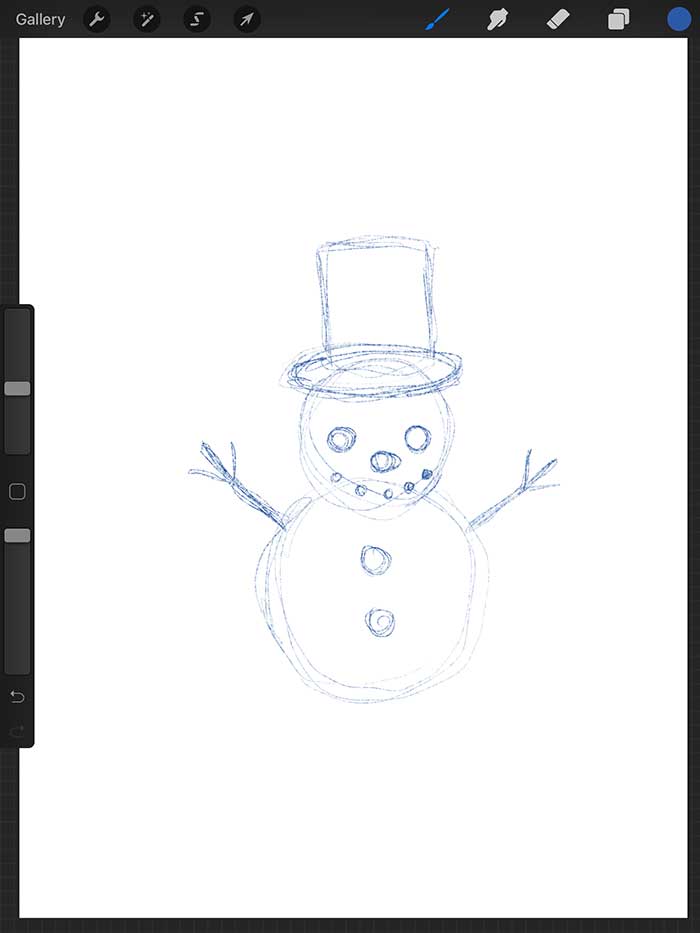
In step three, sketch out all the small details of the snowman, such as the eyes, nose, and arms.
If you are drawing your snowman digitally, take your rough sketch layer and drop the opacity to 30%. And if you are following with a pencil and paper, keep your sketch very light!
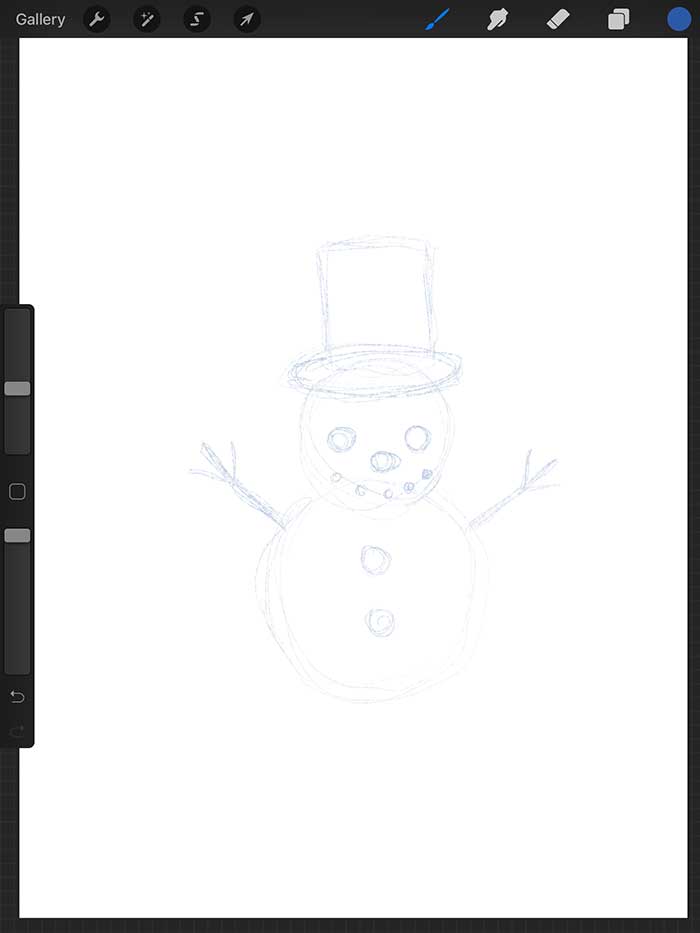
Create a second layer and place it on top of the rough sketch of your snowman. Next, pick a dark color such as black to refine the detail of your drawing.
As for pencil and paper users, you can press firmer on your pencil for darker lines. And use your eraser to remove any unwanted sketch marks.
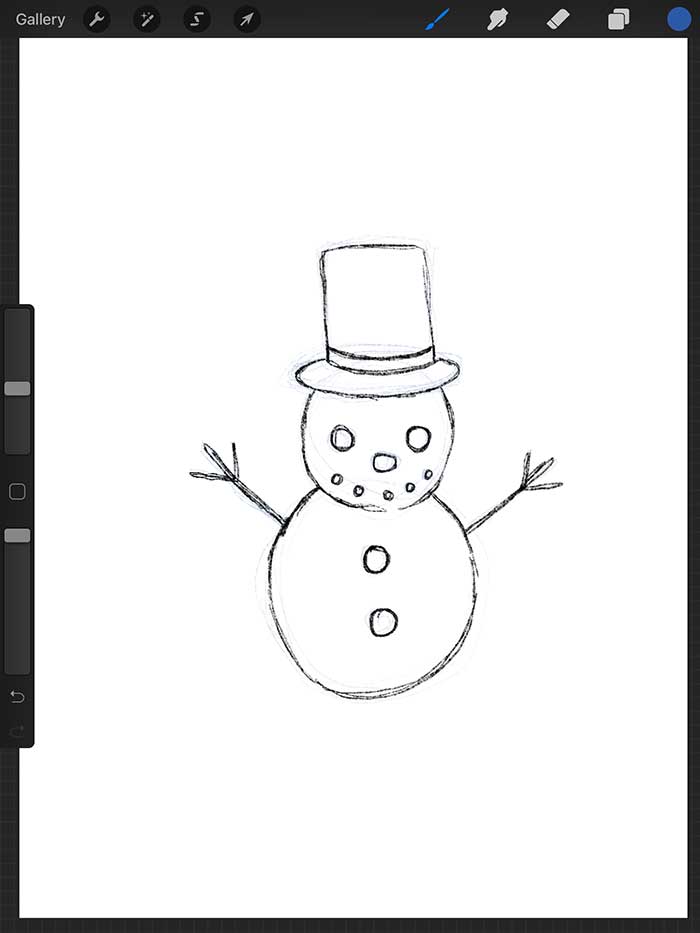
For digital users, create a third layer and place it at the very top of your layers. Use this layer to add shadow.
If you are drawing your snowman on paper, you can add in your shading and detail.
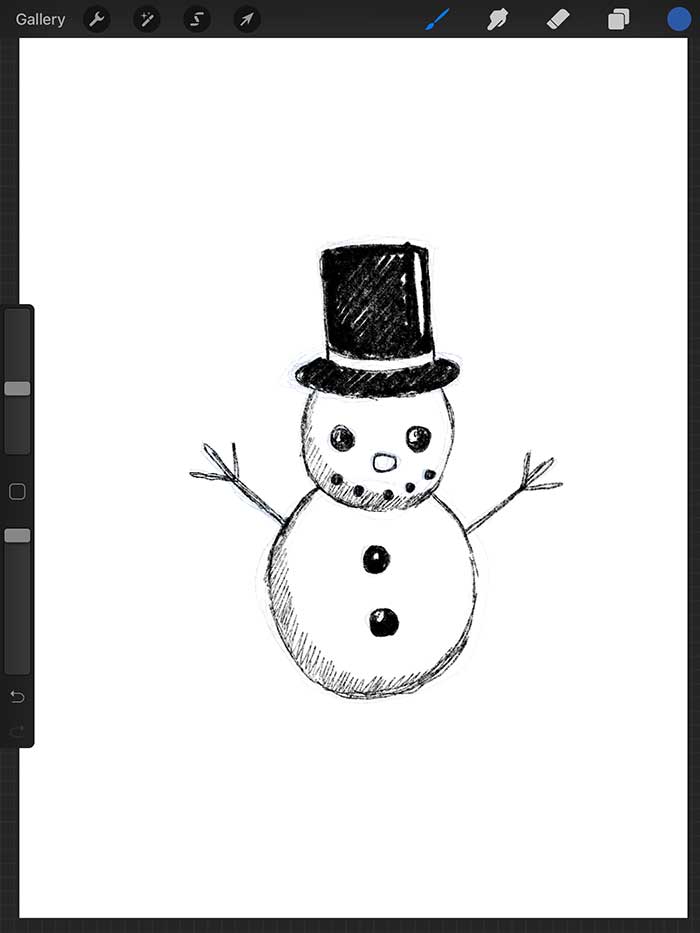
Procreate and other drawing app users, the following image should be the order of your layers. I hope this helps!
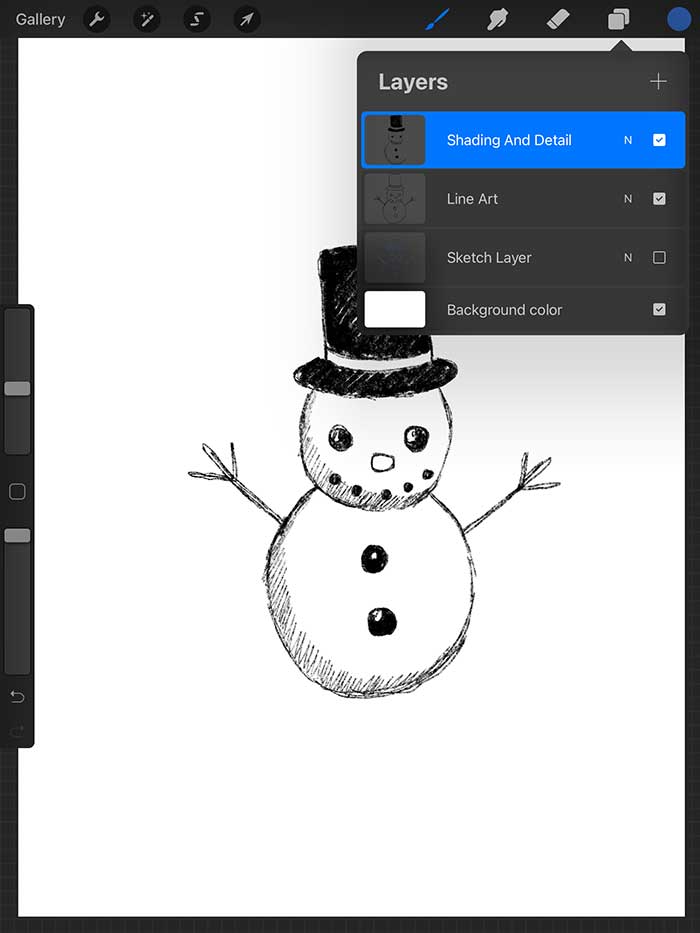
Now you should have a completed drawing of a snowman! Pat yourself on your back and feel proud. And congratulations to you! I hope you learned something from this tutorial and how to draw a snowman. But most importantly, I hope you had fun!
Do you want to share this tutorial with your friends and family? Do not hesitate to share on social media!
Lastly, don't forget to hit like, follow, and subscribe to all my social media networks. And if you need help with this tutorial, leave a comment below or contact me. I would love to hear from you!
Warning: Undefined array key "preview" in /home2/dreampigment/howtodrawdojo.com/wp-content/plugins/oxygen/component-framework/components/classes/comment-form.class.php on line 79