In this tutorial, I want to show you how to draw a nose step by step. This lesson will help you understand the basic structure of the human nose. I will demonstrate in detail how to achieve a semi-realistic nose drawing. Take note that there isn't a right or wrong way to draw a nose. Some artists like to draw a simple curve or a corner and call it a day. But you aren't one of them, are you? No, you want to understand how to draw a nose. So let's dive right into this lesson!
Before we start drawing, we must first conduct some research on noses! Because noses come in different shapes and sizes. Some noses are small, and some are big and pointy. Seeing real-life photos can help you understand some of these shapes. For the sake of this tutorial, I will keep the design of the nose simple and basic. The link below will take you to my Pinterest board. I hope it inspires you!
The tools you will need for drawing a nose are all up to you. Even though I created this tutorial digitally, each step resembles the texture of a graphite pencil. In short, you can follow this lesson either digitally or with pencil and paper. If you want to follow along with me digitally, I used Procreate 5 for this tutorial. Below is a link to my Procreate digital brushes.
Now that you are familiar with noses, I want you to create warm-up sketches of noses. Practice drawing for a bit and get comfortable first with the tool you are using. This exercise is to help build confidence in yourself. Remember, drawing is also a state of mind. I want your mind to be ready and confident for this tutorial.
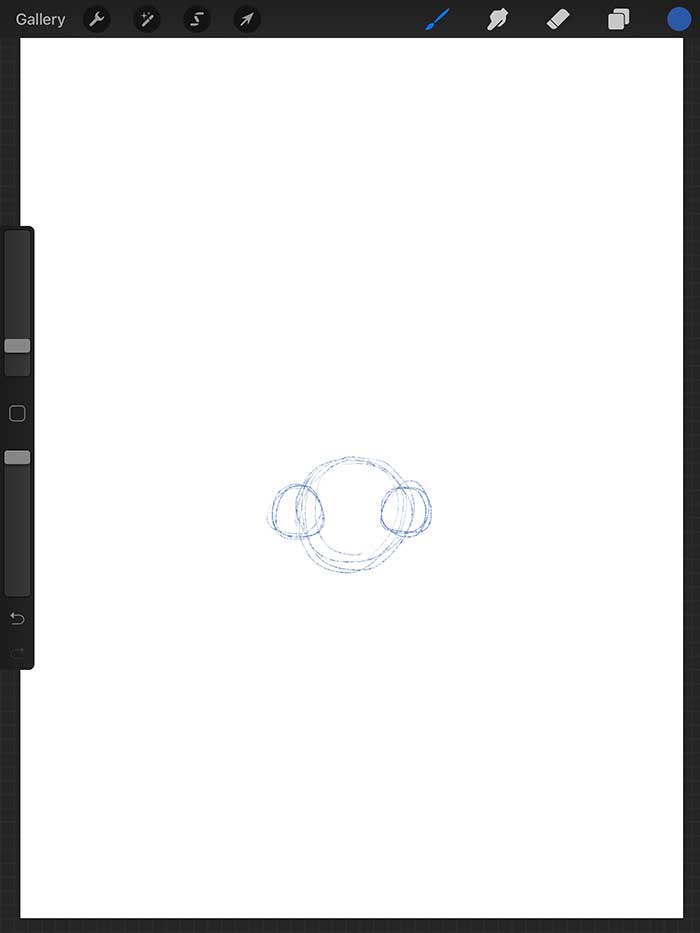
Draw a large circle with two little circles next to it, one small circle to the right and one circle to the left. These circles will be the base for the nose tip. Make sure you keep your sketch marks light.
If you are drawing in Procreate or any other drawing app, use a blue color swatch for your layout drawing. I like using the "Sketch Brush" for this stage.
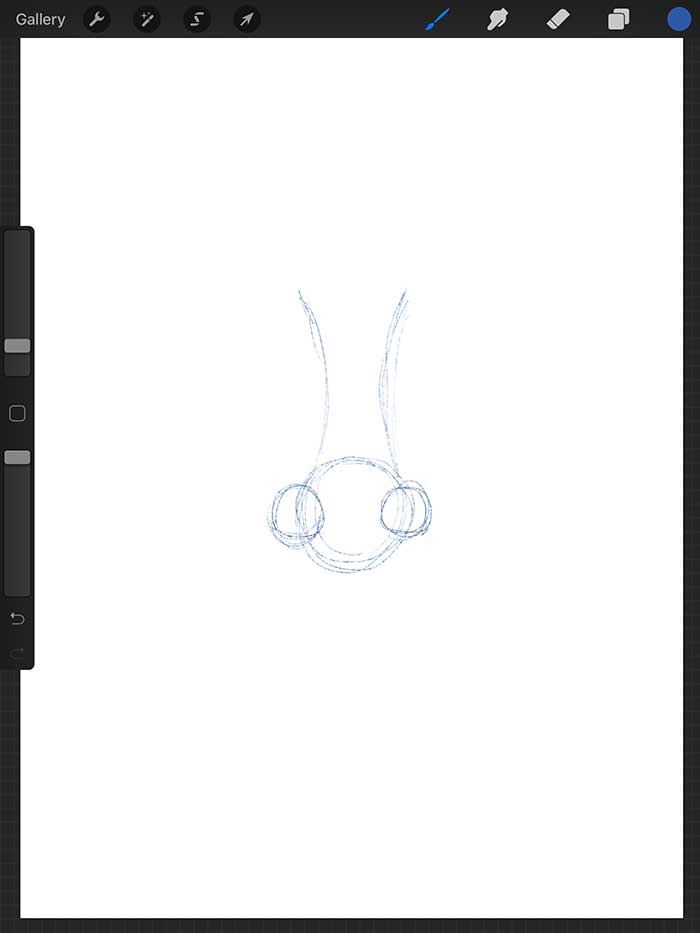
Next, draw two long curves above your large circle. These curves will form the nasal passage of your nose. The size is up to your discretion.
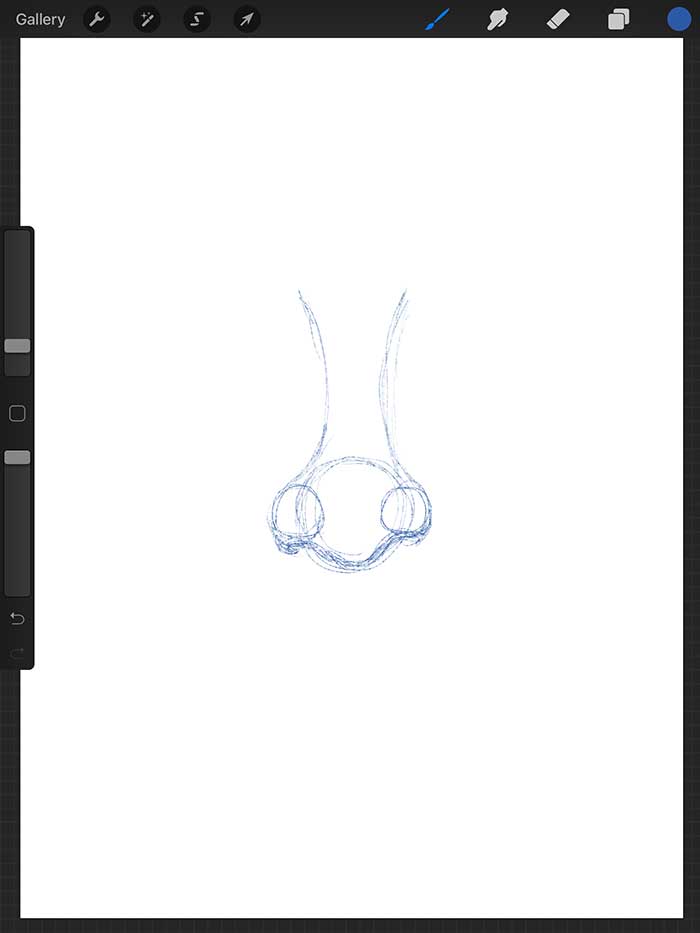
In step three, we want to connect all of our shapes. For the bottom of the nose, make that line resemble handlebars from a bike. Do not link the top portion of the nose.
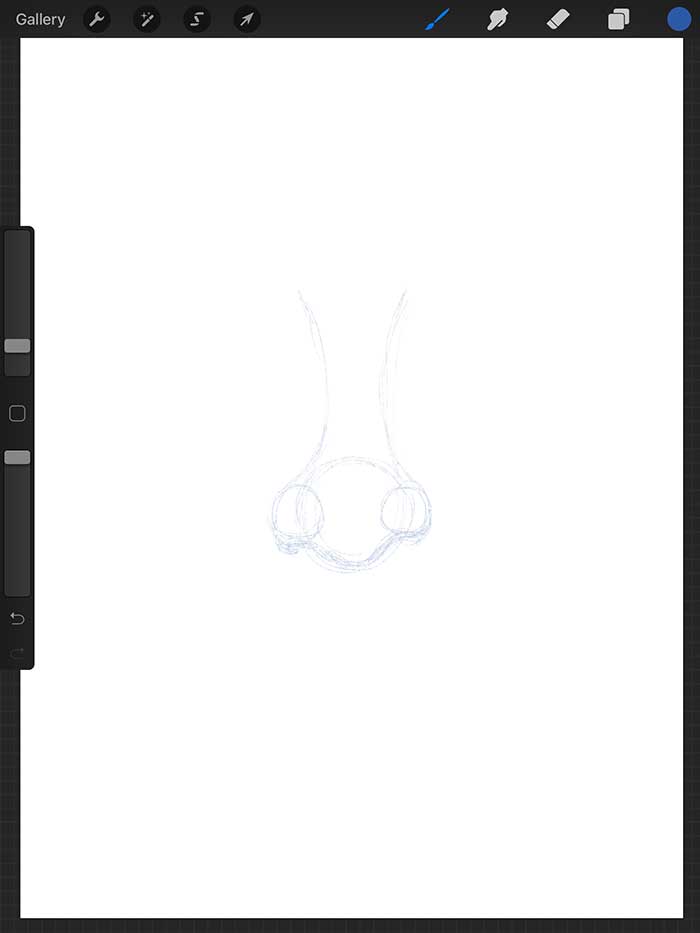
This step is for digital users. Once you complete your layout drawing, take that layer and drop the opacity to 30%.
Pencil and paper users, make sure to keep your layout drawing very light. If you have trouble sketching light, I would recommend using an H2 grade lead. This lead is hard compared to an HB pencil.
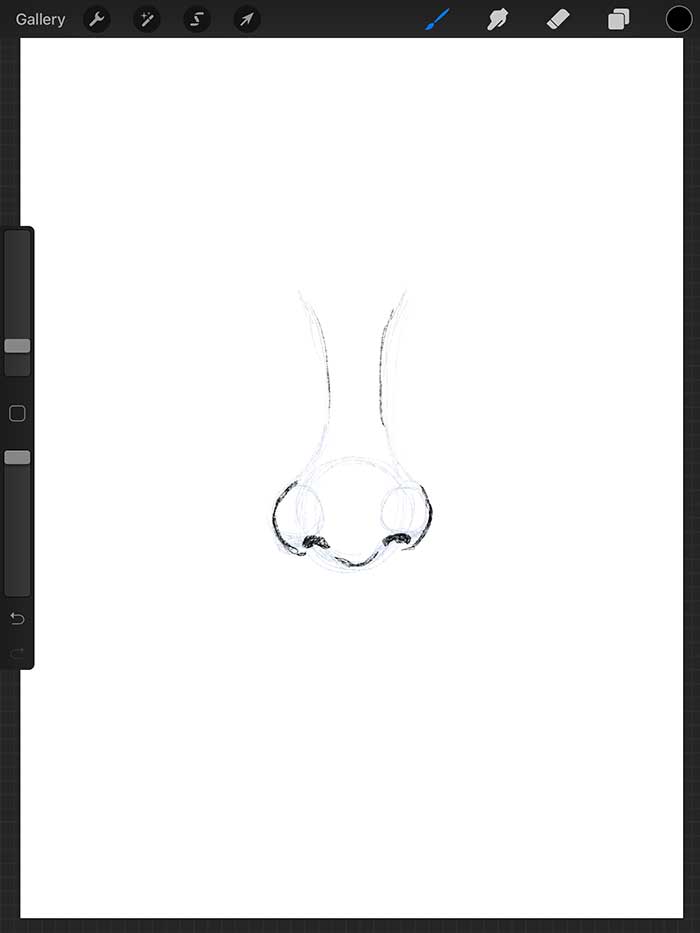
Digital users, change the color of your swatch from blue to black. Next, create a second layer on top of your sketch drawing. Use this layer to refine the details of your nose drawing. We do not want to render all of our lines. We only want to darken a few features of the nose. The nostrils, nose wings, and the bottom of the nose are the lines of focus.
For pencil and paper users, apply more pressure to your sketch drawing.
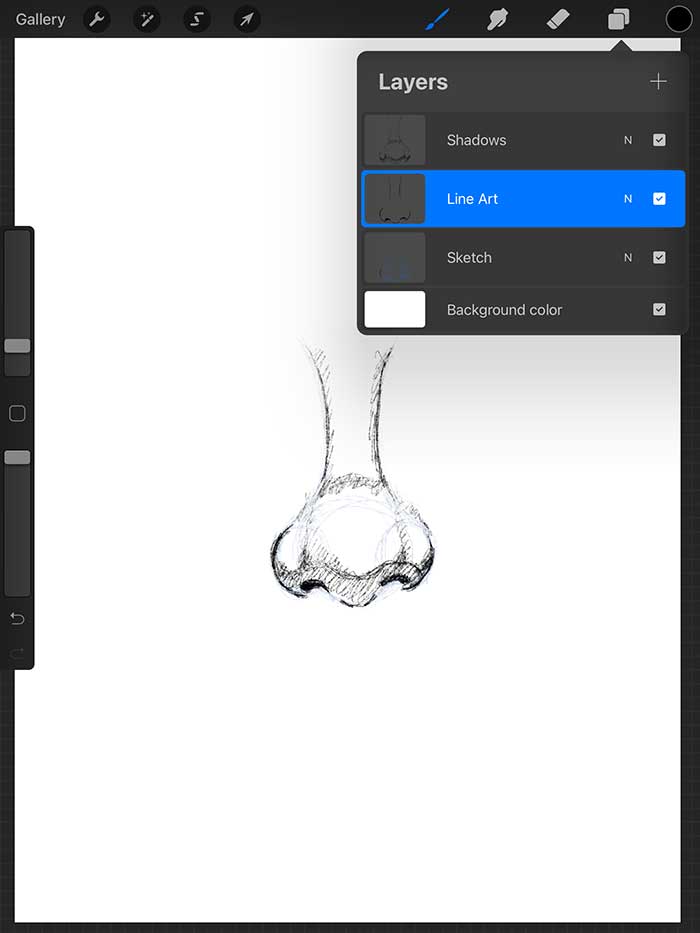
The last step for digital users is to create a third layer and place it at the top of your layer panel. Use this layer to add shadows to your nose. The bottom of the nose will have the darkest shadows.
As for pencil and paper users, vary the pressure of your pencil marks. Use my image as a reference.

If you have made it this far, you should have a completed drawing of a nose. Congratulations! Now that wasn't too hard? And that's how you draw a nose step by step. I hope you enjoy this tutorial.
Did you like this tutorial? If you will like to see more free content like this, leave a comment below or contact me here! You can also show your support by following my Instagram accounts @howtodrawdojo and @dreampigment. Check out my contact page for more information on how to reach me!
Lastly, feel free to share and repost this tutorial. Also, don't forget to have fun when you draw!
Warning: Undefined array key "preview" in /home2/dreampigment/howtodrawdojo.com/wp-content/plugins/oxygen/component-framework/components/classes/comment-form.class.php on line 79