Do you want to learn how to draw eyes step by step? Eyes are my favorite facial feature to draw, and in this tutorial, I'll teach you how to illustrate them. In my opinion, the eyes are one of the most crucial features in a face drawing. They can either make or break your image. Don't worry too much, in this lesson I'll break each step in detail. I will focus on how to draw a pair of beautiful women's eyes in my style. You can see examples of these types of eyes on my main Instagram account here. Now, are you ready to learn how to draw eyes step by step?
Before you start drawing, you will need to research the human eye. One method of gathering reference images is by using Pinterest. Using this application, you can group photos and pin them to an inspiration board. With this board, you can analyze each reference image and study the shape of the human eye. The link below will take you to my Pinterest inspiration board. Hopefully, this can give you an idea of how to gather reference images to study.
Once familiar with the photo references, you are ready to start working on some warm-up sketches of the eyes. Practice on a blank sheet of paper and try to fill them up. Don't worry about the quality of these sketches. What I want you to focus on is getting your mind and drawing hand to work together. I want you to build your confidence in drawing eyes. Keep your mark marks loose and fluid. You can also do this same exercise on a tablet.
The tools you will need for drawing eyes is a pencil and a blank sheet of paper. If you have a tablet, any drawing application will work fine for this tutorial. But if you have Procreate 5 or later, you can follow these instructions along with me. Below is a link to my favorite brushes in Procreate, with some custom brushes created by me. Now I can teach you how to draw eyes step by step!
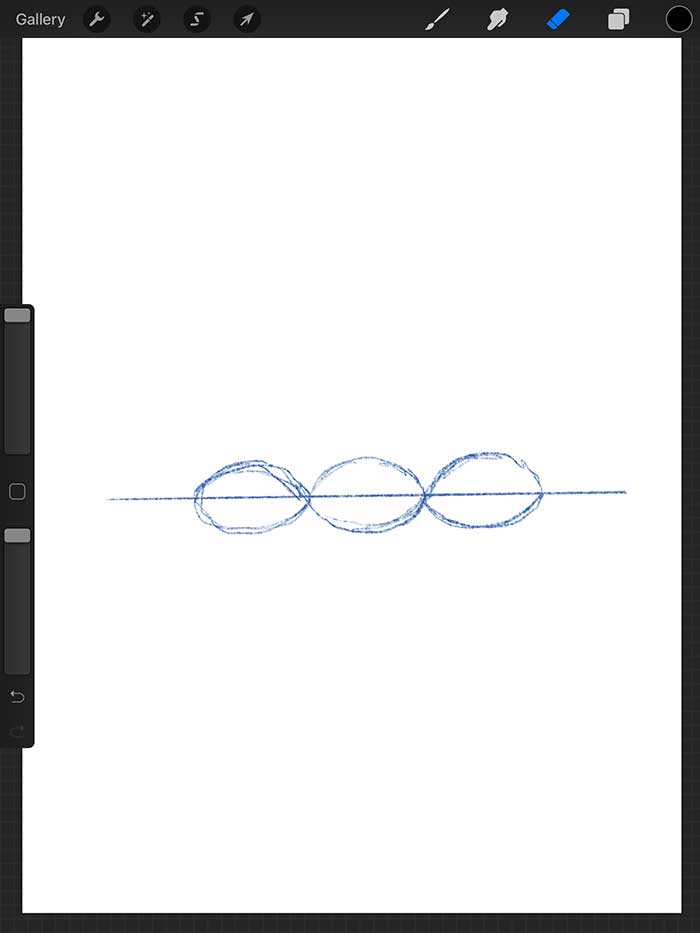
The first step on how to draw eyes is to sketch out their shape. And to do this, you will need to draw a straight line. Once you have your line drawn out, sketch out three football-like shapes. Make sure your ovals fall in the middle of the line. Take note that the center shape is a spacing guide for the left and right eye. You are not drawing three eyes.
Pencil and paper users, keep your sketch lines light. Try not to press too hard on your pencil when you are sketching your layout.
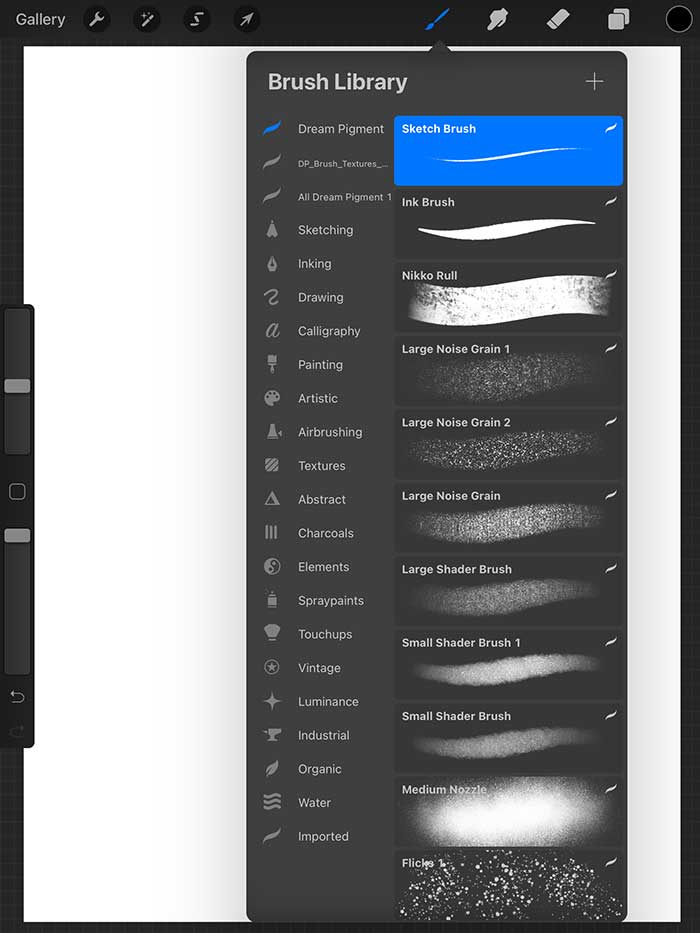
For Procreate users, the brush I am using in this tutorial is called the "Sketch Brush." The "Sketch Brush" is the only brush I use in this tutorial. Pick a blue color for drawing your layout.
A handy Procreate 5 tip on how to draw a straight line is to click and drag. Do not pick up your pen! Once you get to the end, press down with more pressure and hold. Doing this action straightens your line.
Pencil and paper users, you can freehand the straight line or use a ruler. I would recommend using a ruler.
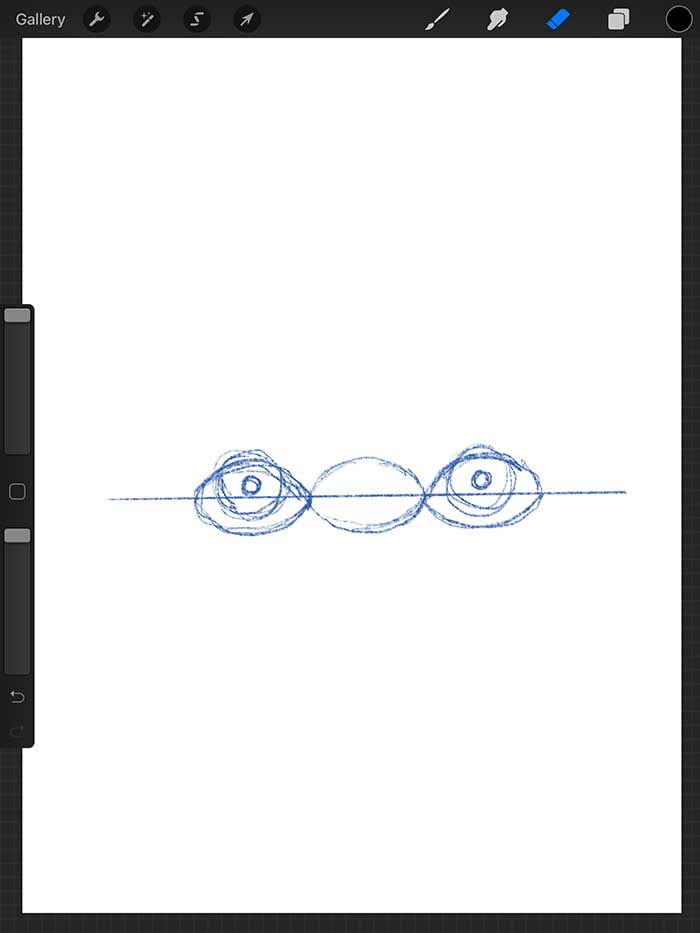
For the second step, draw the iris and pupils. And to do this, draw two circles in the middle of the left and right eye. Make sure the shapes of the iris are a little out on the top of your ovals. Draw two more small circles for the pupils. These pupils are in the middle of the iris.
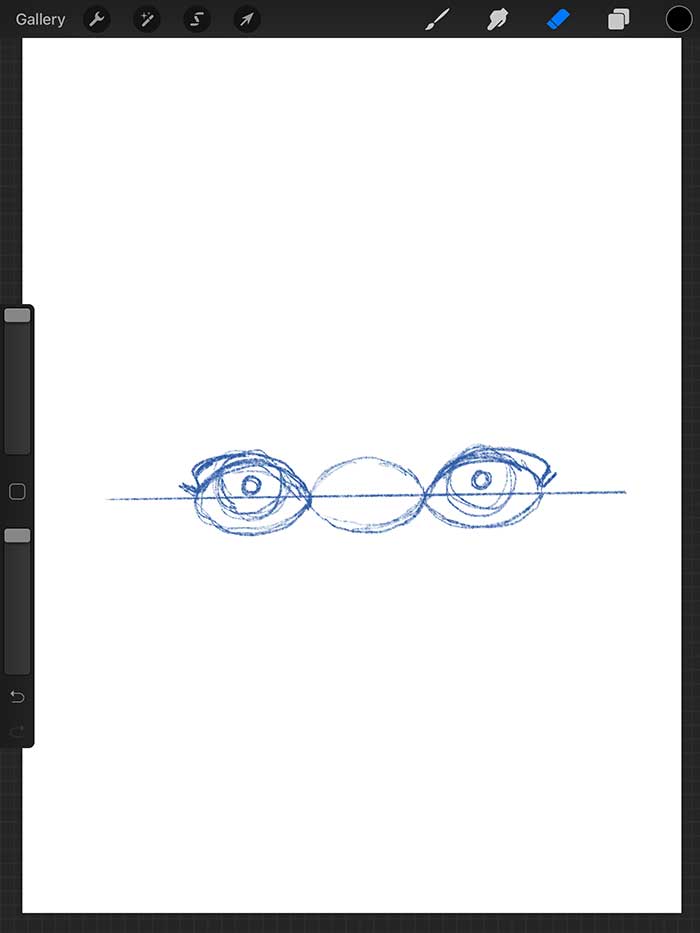
To draw the eyelashes, sketch out the basic shape. For my style, the top outer portion of the eyelashes is heavier. With the shape tapering as it gets to the center oval. I also like to add a little triangle lash on the corner tip of the eyes too. A tip when it comes to drawing lashes in general. Is that the top portion is always darker and heavier. And that's because there is more hair on the top section of the eye.
For digital users, drop the opacity of your sketch layer to 30%. Pencil and paper users don't have to worry about this step because you are sketching your layout light in pencil.

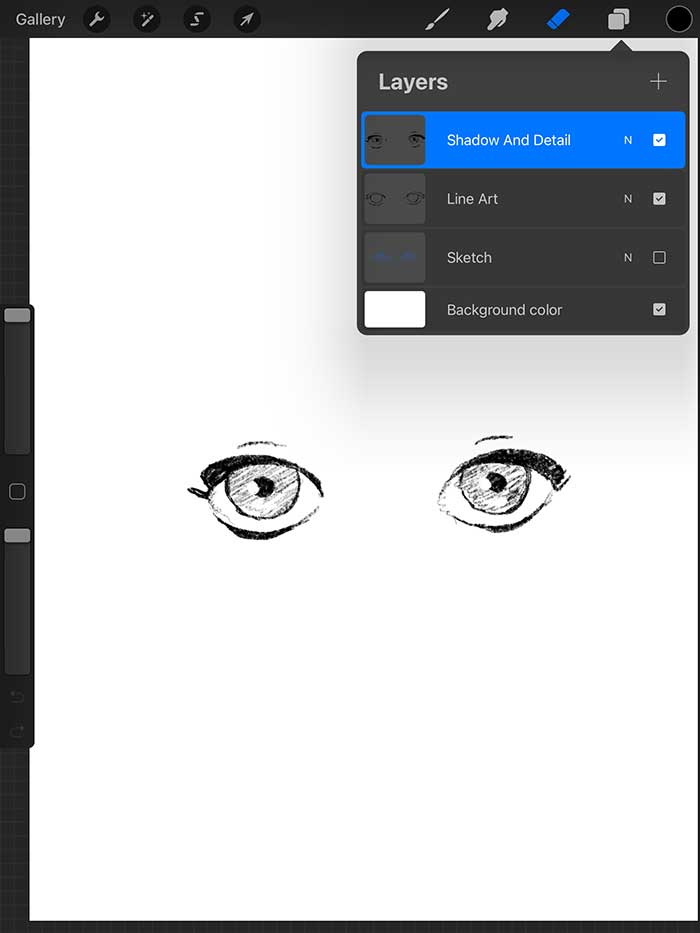
Digital users, you will need to create a second layer on top of your sketch layer. On this layer, you will refine the line art of your eyes. In this step, you will also switch your brush color from blue to black.
Pencil users, you will need to press firmly on your sheet of paper to increase contrast.
Tip for the bottom eyelid. Do not connect either corner of the eyes. Negative space is a powerful technique too. And on that subject, do not outline the pupil yet! Your drawing should resemble something like the image below.

The next step is to add shadow and detail to your eyes. For digital users, you can create a third layer and place it at the top. Use this layer to add all your shadows and details.
For pencil users, you will need to sketch small circle highlights in the iris. These circles will sit in between where the edge of the pupil meets the iris. Make sure you pick one side for your highlights. In this tutorial, I selected the left side. Erase any unwanted sketch marks.
For Digital users, use an eraser and remove the shading of your iris and pupil. You can also turn off the visibility of your sketch layer.
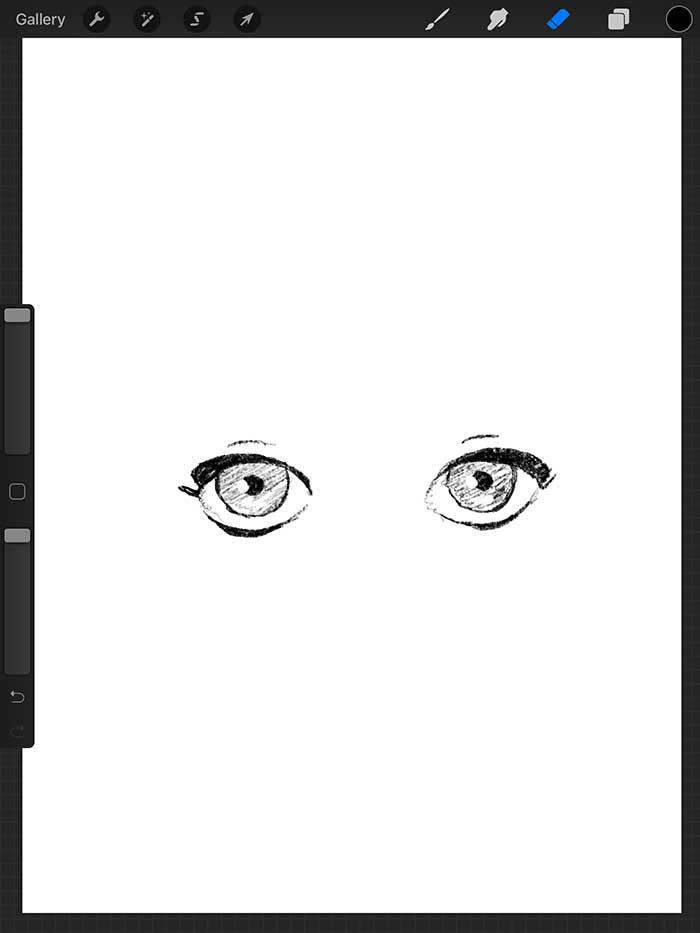
If you have followed all the steps, you should have a completed drawing of eyes. Congratulations! I hope my instructions were clear enough for you to follow. Because that's how you draw eyes step by step in my style. If you have any trouble with these steps, please contact me or leave a comment below! I will try my best to address the issue!
Below is what your layer panel should look like.
Lastly, feel free to share this tutorial on "How To Draw Eyes Step by Step" with friends and family! The more support I get from these tutorials, the more FREE content I will create for you guys. Because making these tutorials and video takes a lot of time. Also, don't forget to follow my Instagram account and YouTube channel! Subscribe to both social media applications. Thank you for your support, and remember to have fun when you draw!
Warning: Undefined array key "preview" in /home2/dreampigment/howtodrawdojo.com/wp-content/plugins/oxygen/component-framework/components/classes/comment-form.class.php on line 79