Do you want to learn how to draw hair? Because I want to teach you how with this easy-to-follow tutorial. Hair can be confusing to draw, but I will do my best to make this lesson easy! You can also follow this lesson with my quick YouTube video below.
Are you ready to learn how to draw hair step by step? Get them pencils and tablet pens fired up, and dive into this lesson!
What you need for this tutorial is a sheet of paper and a pencil. And that's it! You can also follow these instructions with your favorite drawing application. Just make sure that the software you are using has pressure sensitivity. If you want to follow along, I created this lesson using Procreate. Below is a link to my Procreate brushes.
Before we draw, let us look up reference images of different hairstyles. Looking up photo reference images is a great way to familiarize yourself with people's hair. For this tutorial, we will draw a bob hairstyle. If you want to check out my reference photos, check out my Pinterest board at the link below.
Like working out, I recommend warming up your drawing hand with some quick drawings. This exercise will help you loosen up and build confidence in yourself. You can sketch as long as you want, but a ten-minute session should be the minimum. Don't feel obligated to draw hair—you can doodle anything you want for this part. Once you are warmed up, let's learn how to draw hair!
Digital artists, use blue for your sketch layout. While traditional people, keep your sketch markings light.
The first step is to sketch an oval shape for the head. Next, divide that shape with a crosshair. Then below the head, draw in the neck.
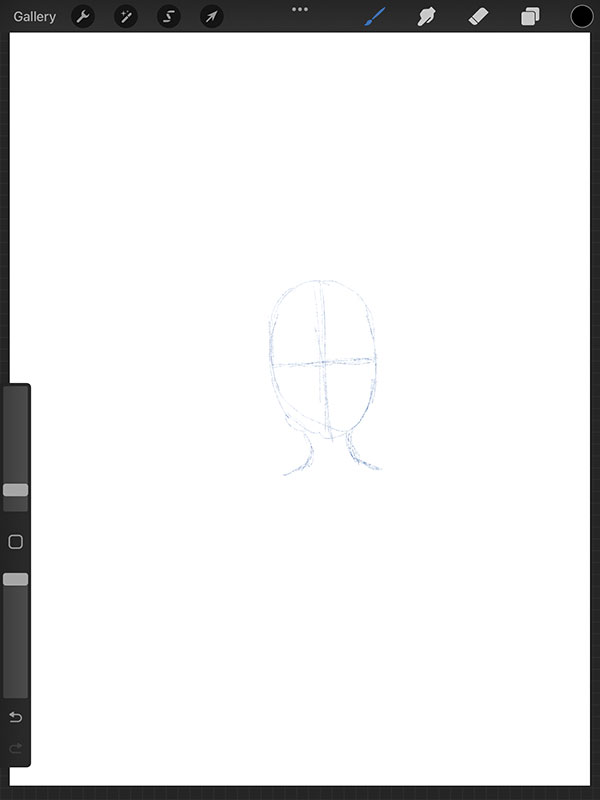
Once you have your head sketched out, draw in the hairline. This step can be confusing—make sure to follow the diagram below. You can also reference the photos for more help.
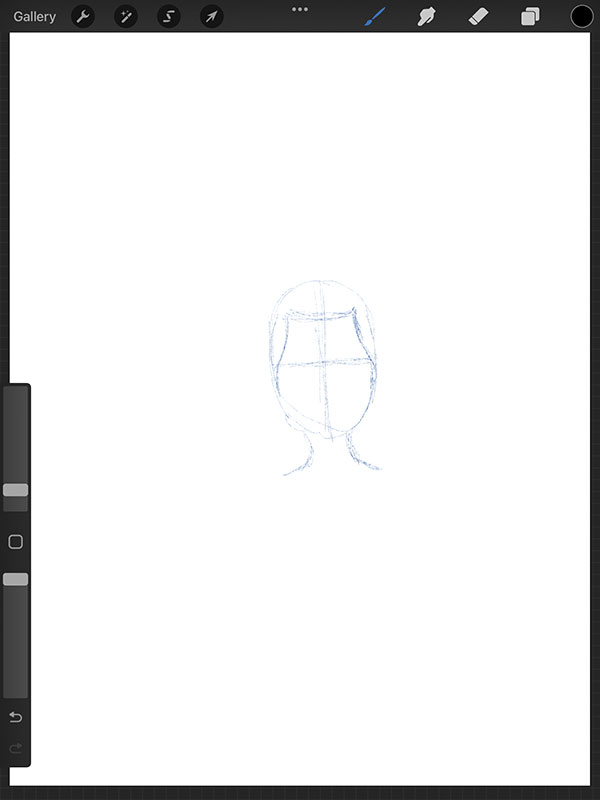
Next, sketch in the shape of the hair. Then draw in the line for the middle hair part. Don't forget to render in a few lines for the back of the hair.
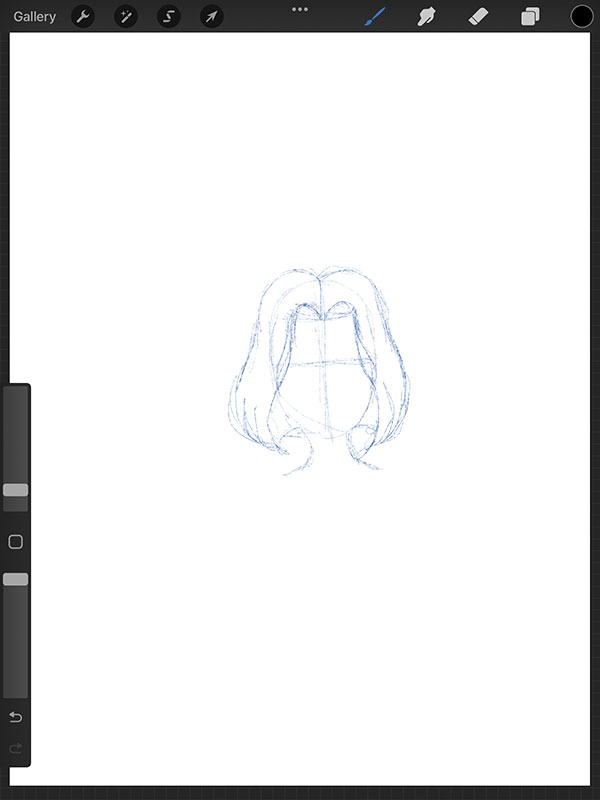
For digital users, lower your sketch layer opacity to 30%. Then switch the color of your brush to black.
Traditional artists, at this stage, make sure that your layout sketch is light.
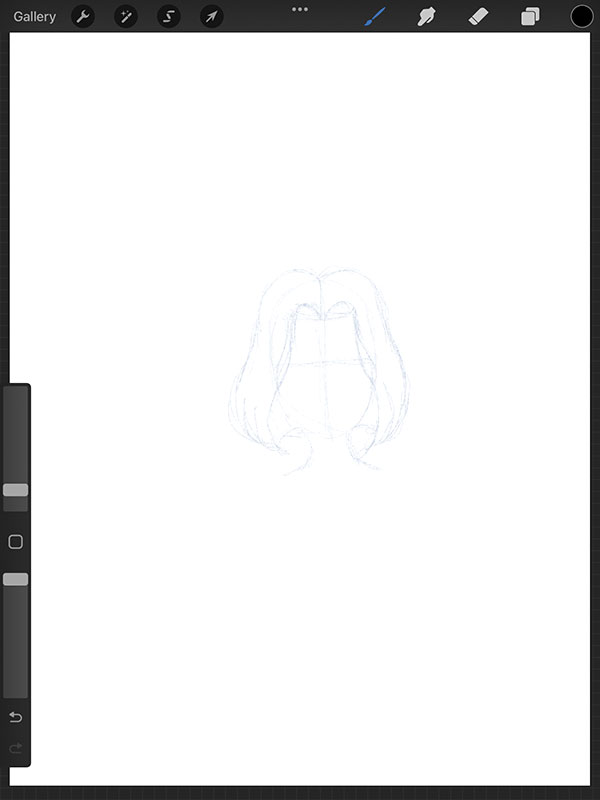
Digital users, create a second layer and place it on top of your sketch layout. On this layer, refine the details of your hair drawing. Note, these lines should clean up your rough sketch image. Make sure you take your time on this step.
Pencil and paper users, make sure you press down firmer on your pencil. Doing this will make your markings darker and help refine the details in your sketch.
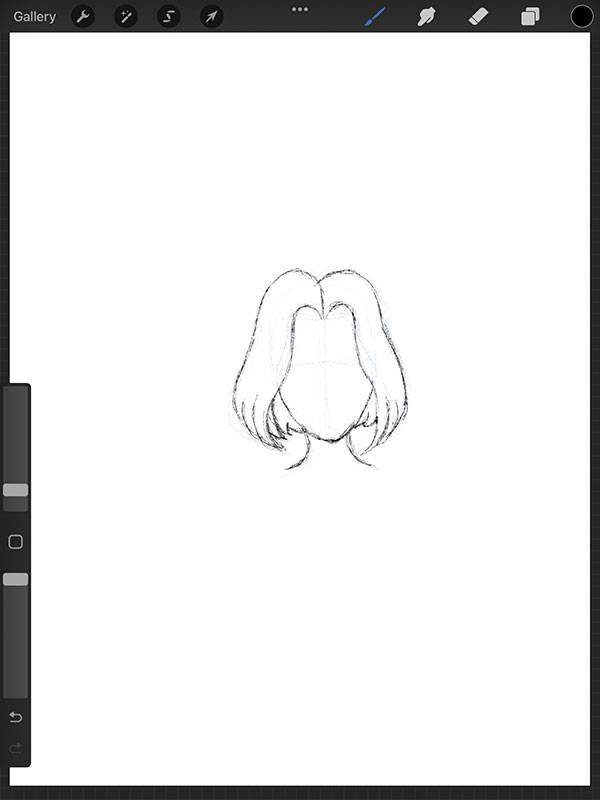
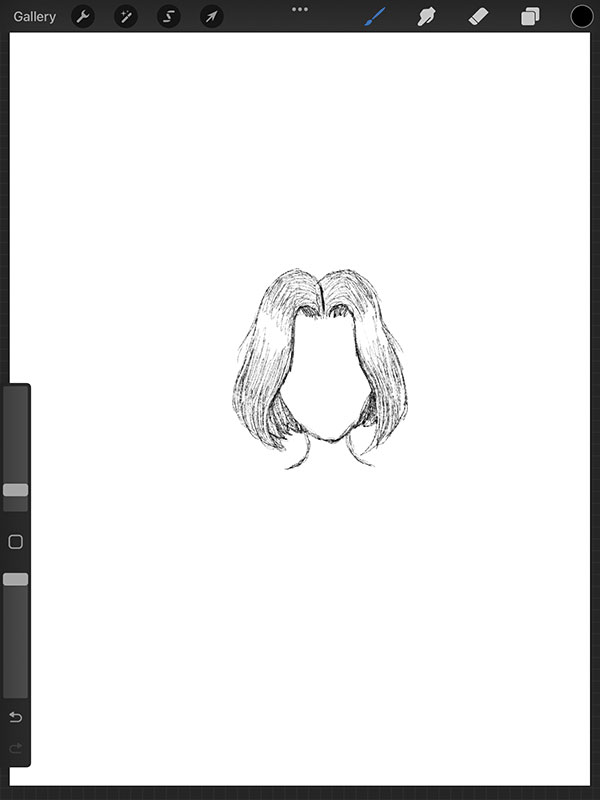
Next, create a third layer and place it on top of all your layers. Use this layer to add shadows and extra details to your hair drawing. A tip for drawing hair is that highlights are prominent on the top of the head. Dimness is usually at the beginning of the hair part or hair tips. Also, follow the form of the hair as best you can. Reference the diagram below.
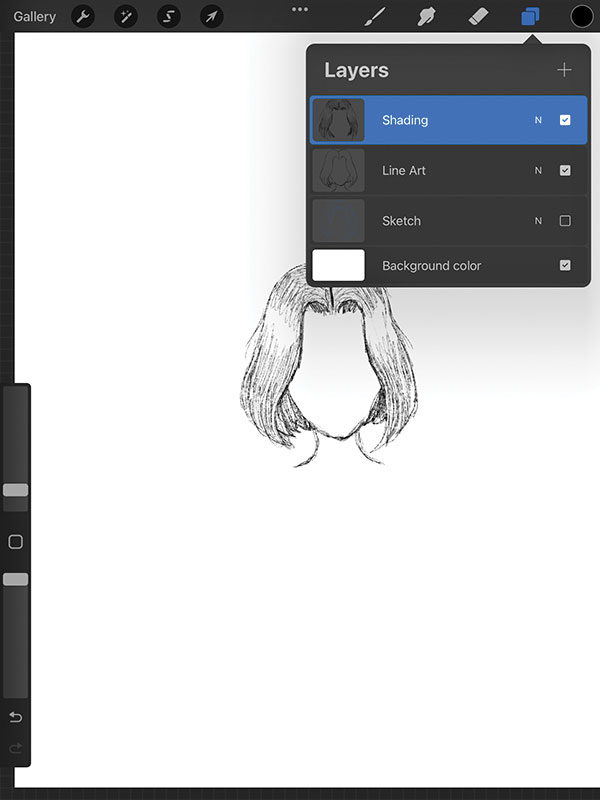
Below is a diagram of what your layers panel should look like, only three layers in Procreate (not including the background.)
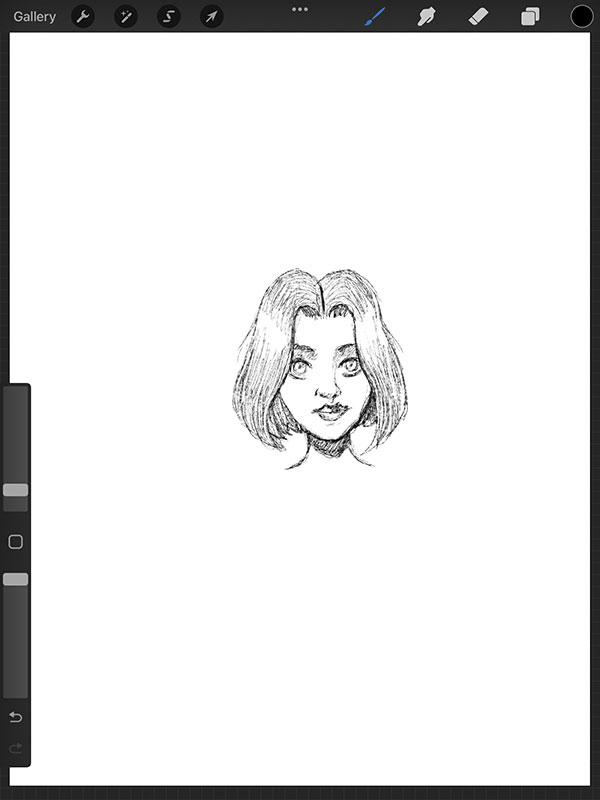
And that's how you draw hair step by step! I hope you learned something from this lesson because drawing hair can be intimidating. In the future, I will create other drawing tutorials on different hairstyles. I'll also go over more advanced techniques!
Take your sketch drawing to the next level by adding more detail! Learn how to draw a woman's face at the link below.
If you like this tutorial and want to see more, leave a comment below! I would love to hear your thoughts and opinions. You can show your support by subscribing to our newsletter! Also, follow me on Instagram @howtodrawdojo or @dreampigment.
Do you have questions about this lesson? Contact me directly or leave a comment below!
Warning: Undefined array key "preview" in /home2/dreampigment/howtodrawdojo.com/wp-content/plugins/oxygen/component-framework/components/classes/comment-form.class.php on line 79