I want to show you how to draw the human ear. In this tutorial, I will guide you step by step on how to do so. I also want to share with you some helpful drawing tips about the ear. I'll be honest — I haven't noticed this tip until I did my research. What I have discovered is pretty neat! And they relate to some basic shapes you should already know how to draw. On that note, are you ready to learn how to draw the ear?
Like I stated earlier, I found some fascinating shapes about the ear. I will discuss this further down in this lesson. The way I found out about them is by looking up at some photos on Pinterest. I'd share my reference images at the link below. You are more than welcome to create your inspiration board.
Once you gathered all your reference images, take about 10 minutes to do some warm-up sketches of the ears. Or anything that pops in your head. When you do this, it will help you warm up your hand and loosen up. It also helps build confidence in yourself. This method helps improve your drawing ability. Don't avoid this part if you are new to drawing.
You can follow this tutorial either traditionally or digitally. I would recommend practicing with pencil and paper, but I know many of you may want to follow this tutorial with a drawing app. If you do use a drawing app, I would recommend Procreate, my absolute favorite.
Digital users, I would recommend using blue for your sketch layout. And if you downloaded my Procreate brushes, use the "Sketch Brush" for this entire lesson. Let's learn how to draw an ear!
Step one is to draw a basic ear shape with a "9" and a heart shape on its side. Drawing a "9" and a heart is a tip that I learned from my research — try it out!
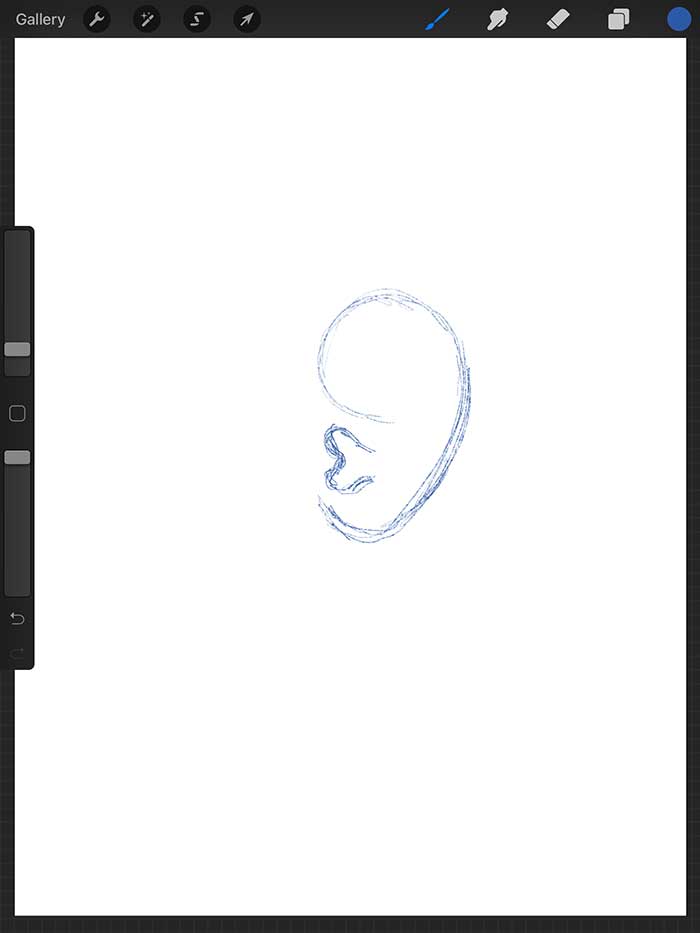
Next, draw the helix and antihelix portion of the year. For the antihelix, this shape resembles a "Y" with a slight curve to it.
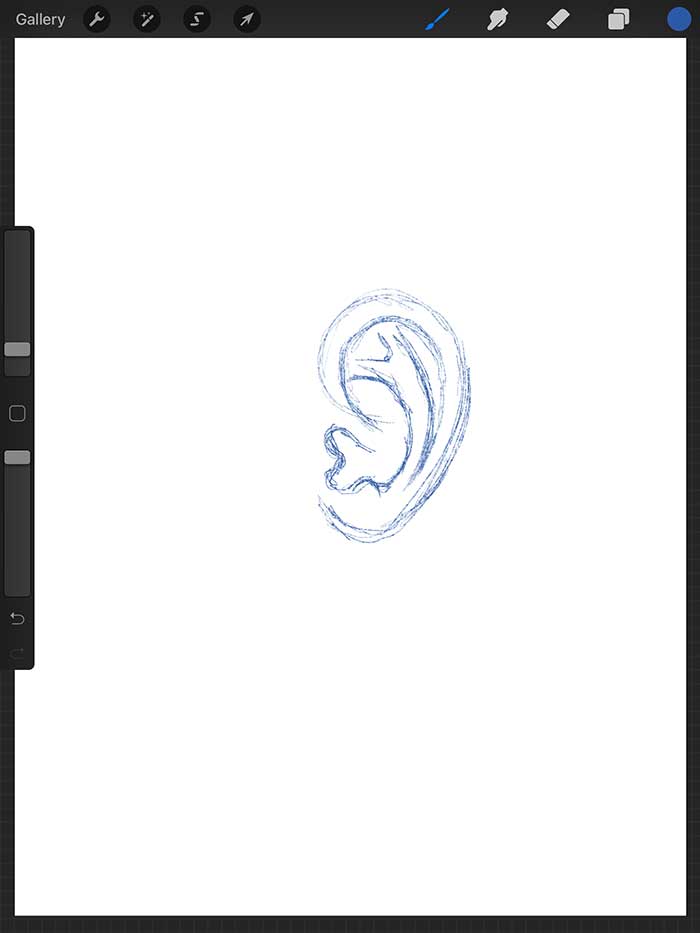
When your sketch is complete, drop your ear sketch layer to about 30%. If you are drawing traditionally, make sure to keep your sketch light.
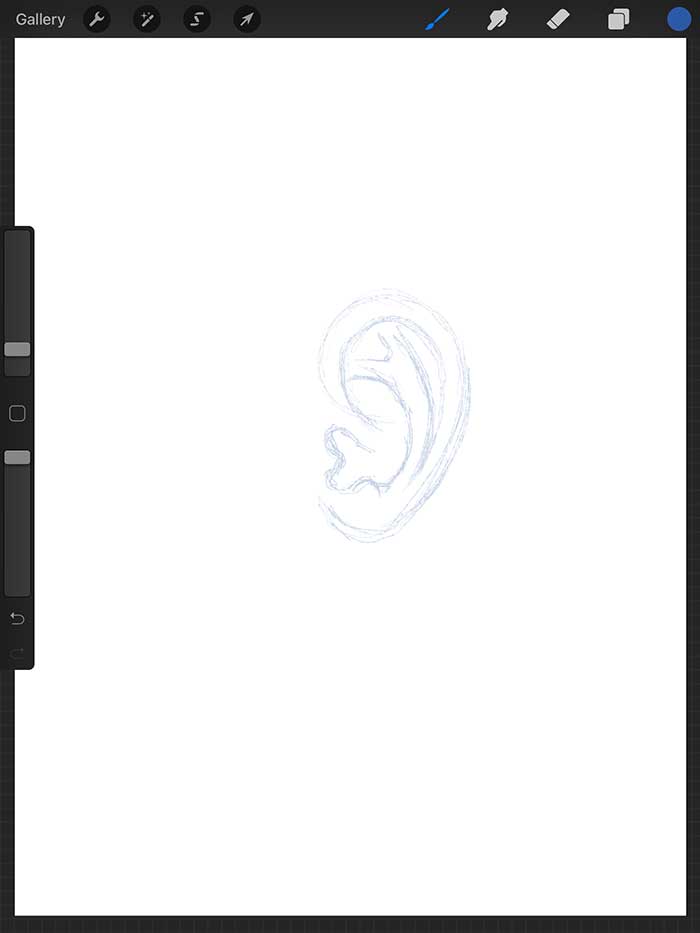
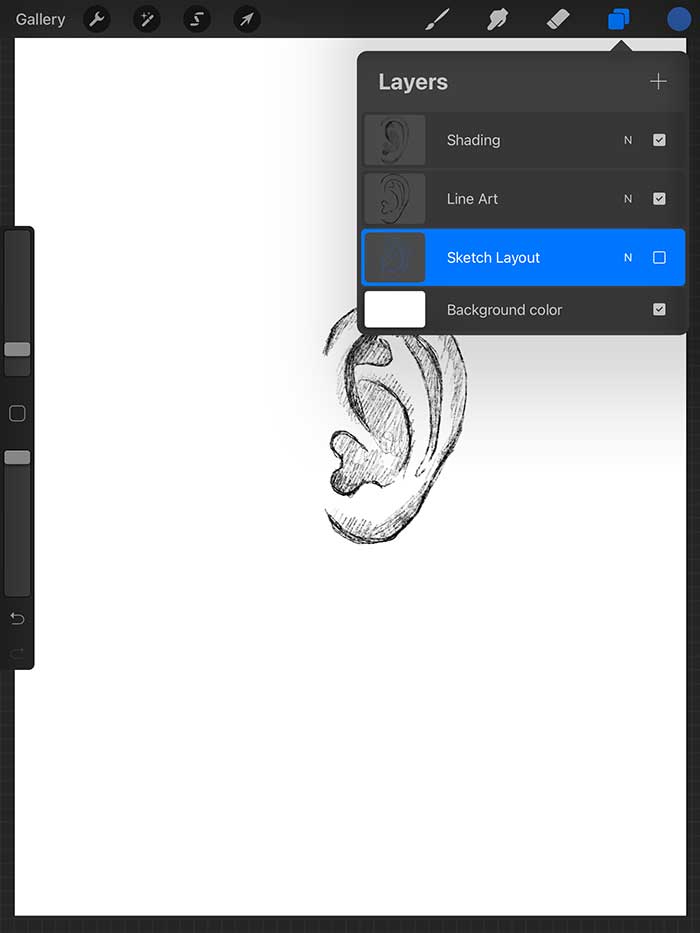
For digital users, create a second layer and place it on top of your sketch layer. On this layer, refine the details of your ear sketch.
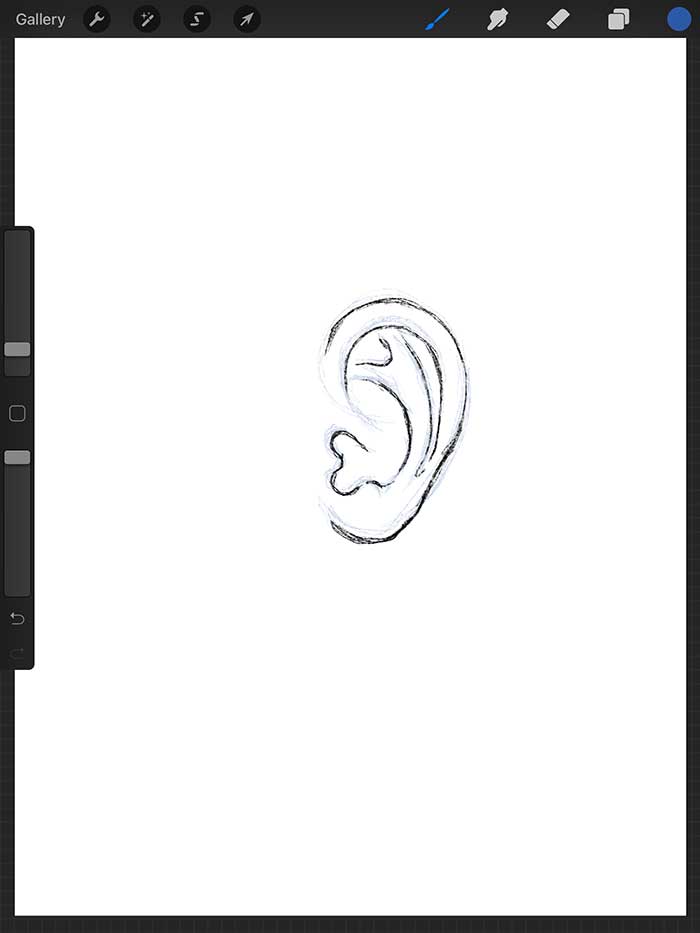
For digital users, create a third layer and place it on top of all your other layers. On this layer, you will add your shadows to your ear illustration. Lightly shade in the negative shapes of the helix and antihelix. This detail will define form to your ear and give it depth. Add a heavier shadow below the helix. Use the image below as a guide to better understand these shading principles.
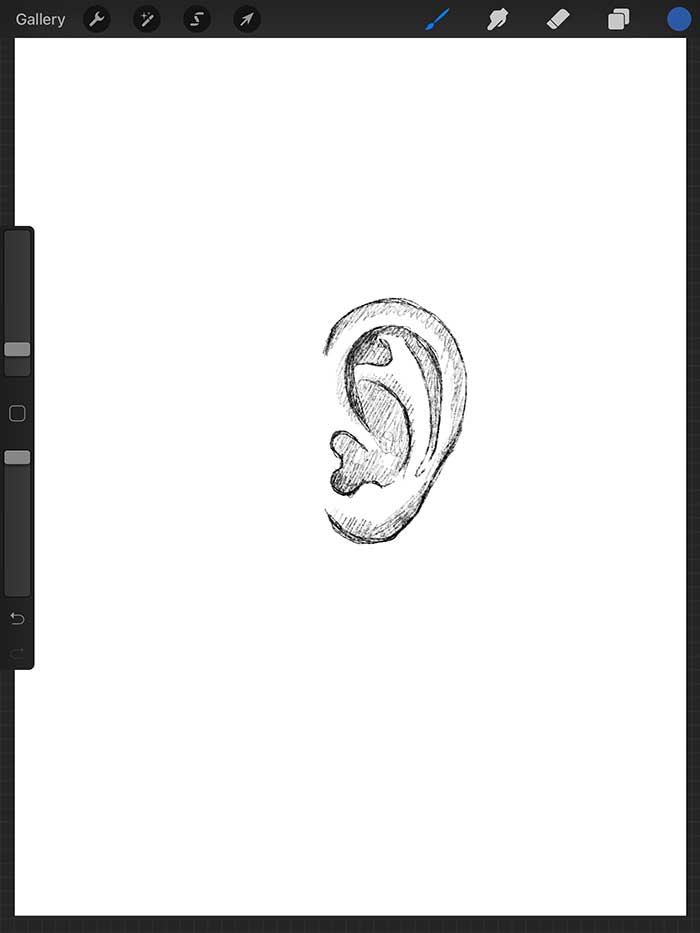
Drawing app users, the diagram below is what your layers panel should look like, only three layers in Procreate (not including the background.)
If you have made it this far in the tutorial, you have completed drawing an ear! I hope my newfound tip helps you to draw a semi-realistic ear. Please feel free to share this tutorial with friends and family!
Lastly, if you want to show support to this website, subscribe to our emailing list. Also, follow me on Instagram at @dreampigment or @howtodrawdojo. I hope you fun drawing an ear!
Do you have questions about this lesson? Contact me directly or leave a comment below!
Warning: Undefined array key "preview" in /home2/dreampigment/howtodrawdojo.com/wp-content/plugins/oxygen/component-framework/components/classes/comment-form.class.php on line 79