I want to show you how to draw a hand step by step! I am not going to lie—drawing hands is one of the hardest things to draw. However, I will do my best to teach you how to draw a hand step by step. Are you excited? Get your hands ready, and let's draw!
What you will need for this tutorial is a sheet of paper and pencil and the desire to learn. If you are a digital artist, any detail drawing application will work. However, make sure the app you are using has pressure sensitivity. For this lesson, I am using Procreate on an iPad 7. You can download my brushes here.
Like all my tutorials, I want to recommend the use of reference images. This process is to help familiarize yourself with drawing hands. I took the liberty to look up some helpful photos on Pinterest. You can find my inspiration board at the link below!
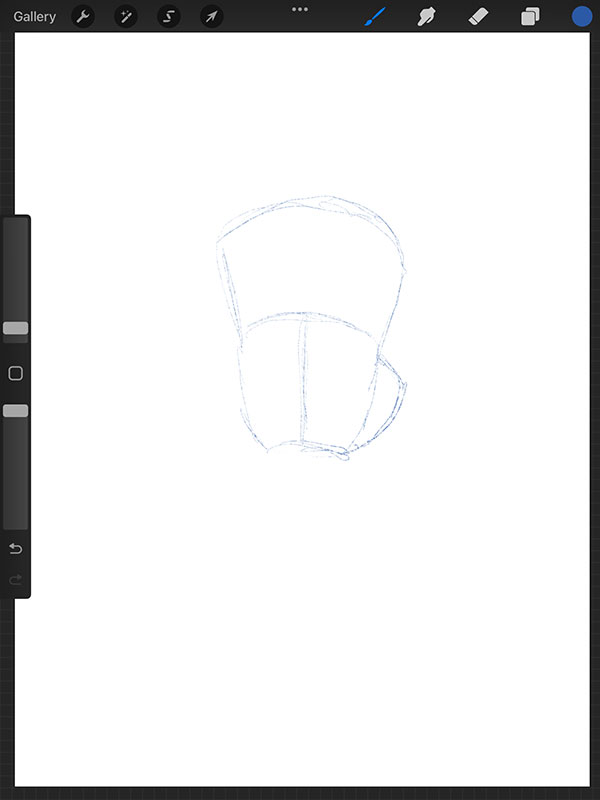
The first step is to draw a couple of wedges for the palm and fingers. Also, sketch in a nub for the thumb. Reference the diagram for shape sizes.
Procreate users, set your brush to "pencil sketch" with a blue color.
Pencil and paper artists, keep your pencil marks light.
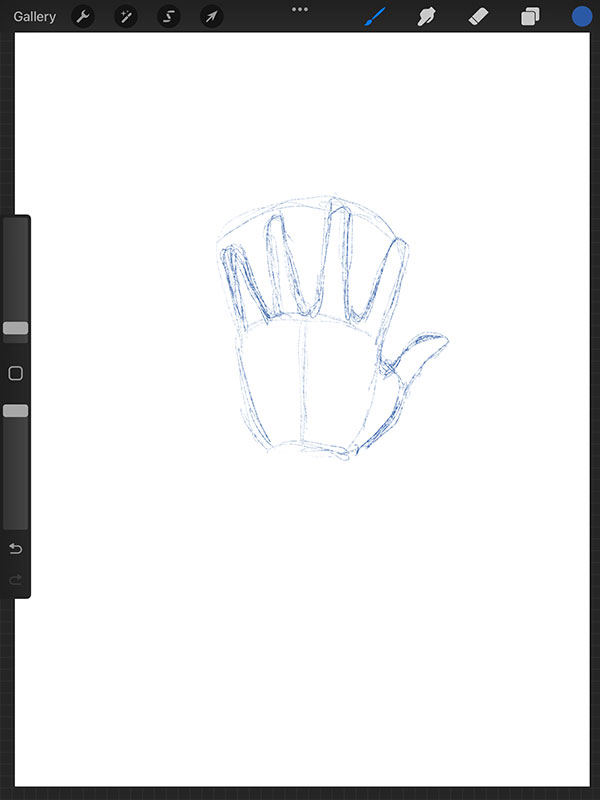
Next, use the top wedge as a guide and draw in your fingers. Take note that fingers taper in as you get closer to the tip. Then loosely draw in the thumb. The thumb has a slight bend. Remember, you can always look at your hand as a reference.
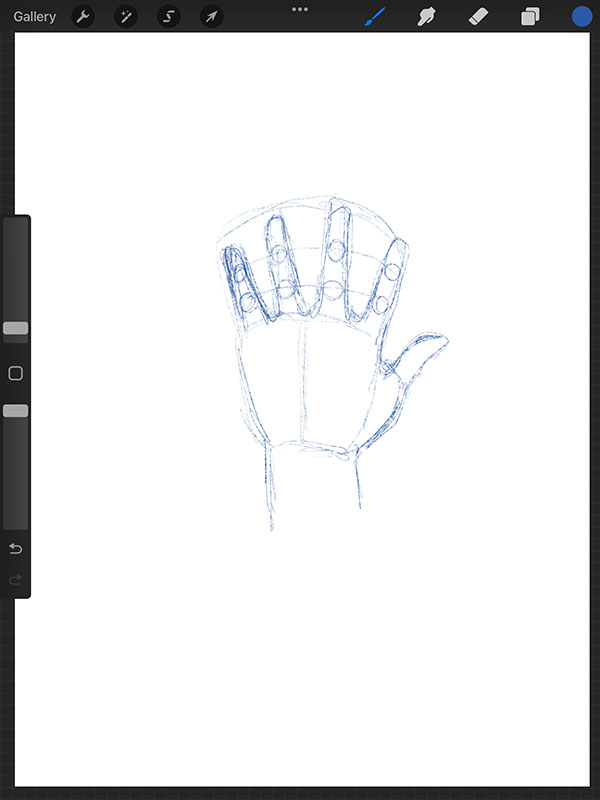
The next step is to draw guides for your finger knuckles. Sketch in two arches that follow the shape of your top wedge. After that, sketch in circles for the finger knuckles.
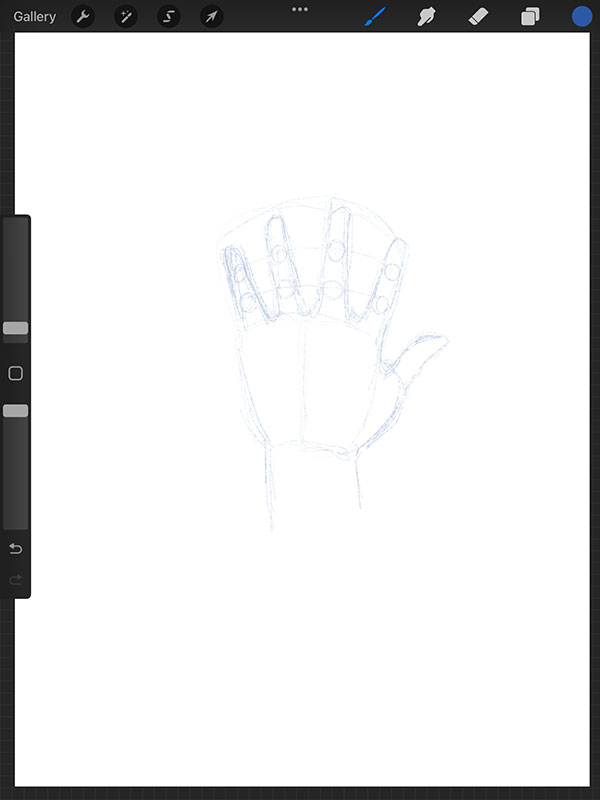
If you are following this tutorial digitally, drop the opacity of your sketch layer to about 30%. For pencil and paper users, make sure your markings are light.
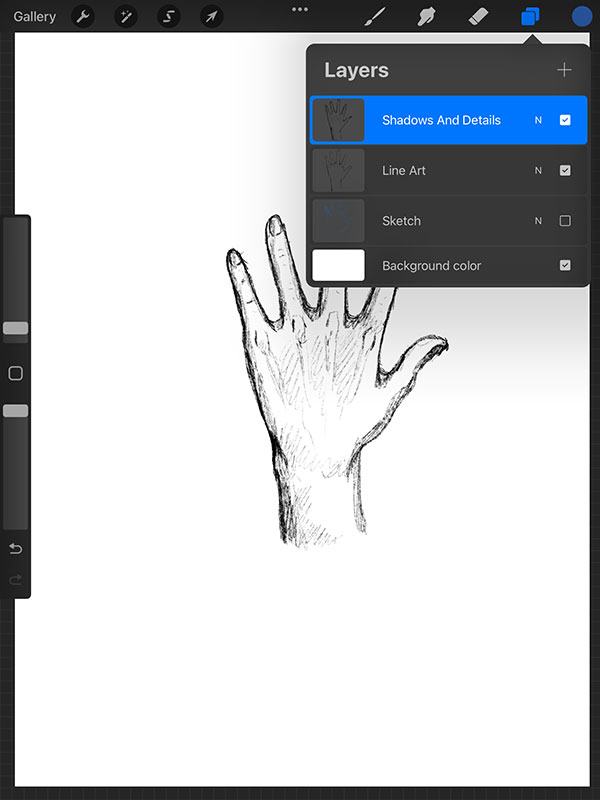
Digital users, create a second layer and place it on top of all your layers. You can also switch colors from blue to black. On this layer, refine your hand sketch.
For traditional users, press down on your pencil with more pressure to make darker markings.
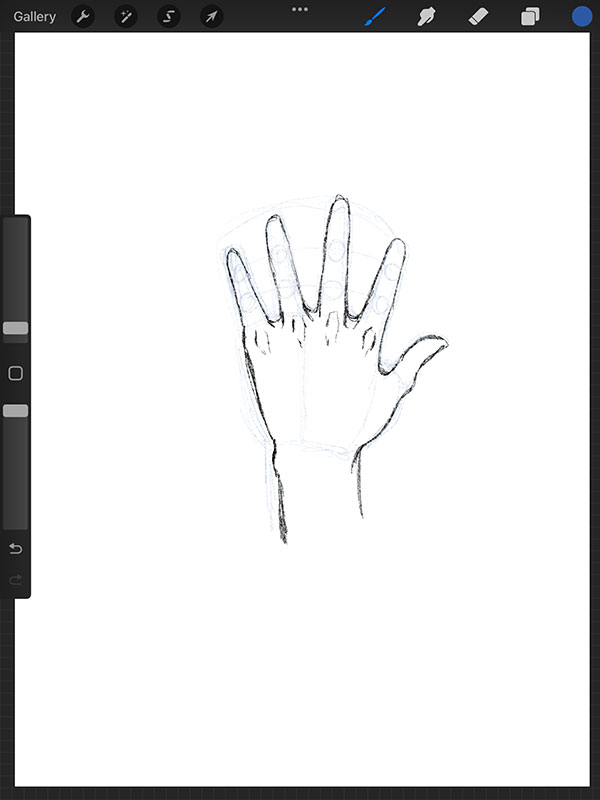
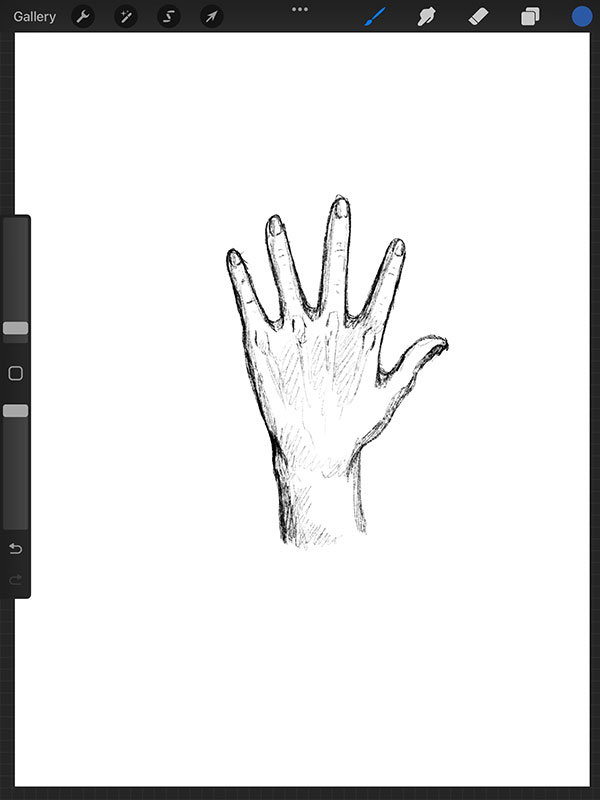
The last step is to create a third layer and place it on top of all your layers. On this layer, add all your shadows and extra detail.
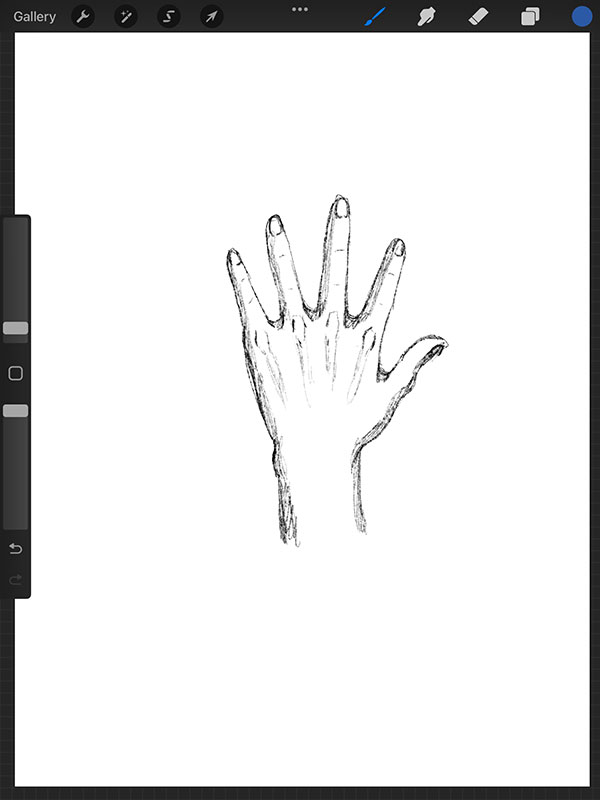
Take your drawing to the next level! With more refine details.
For digital artist, your layer panel should look like this.
And that's how you draw a hand step by step! I hope you learned something from this lesson. As stated earlier, hands are one of the hardest things to draw. I'll try to create more tutorials on the subject in the future! Also, don't forget to share this article with a friend or family!
Did you like this tutorial? Let me know your thoughts in the comments below! Don't forget to subscribe to my newsletter and follow me on Instagram @howtodrawdojo and @dreampigment.