Do you want to learn how to draw boobs; because I want to teach you how in this step-by-step tutorial. I'm not going to lie; drawing women's breasts is one of my favorite things to draw. And that's because I love drawing women a lot. If you are familiar with my work, I illustrate mermaids quite frequently. So I have tons of drawing experience with boobs. I will keep this tutorial simple and easy to follow. I don't want to bog you with too much about the anatomy. However, knowing basic anatomy does help. On that note, are you ready to learn how to draw boobs?
Before we start drawing anything, we need to get familiar with boobs. The best way to learn the anatomy of boobs is by gather reference images. A great place to gather references is Pinterest. I like Pinterest because you can place all your pictures on one inspiration board. Due to the nature of the subject, be cautious on which site you grab your images. A safe place to search for photos of bare breasts is Shutterstock or any other stock image site. To save you the trouble, I created an inspiration board at the link below. At the end of this tutorial, I'll link some helpful books.
Once you are familiar with your reference images, I recommend at least a 10-minute warm-up sketch session. This exercise helps build confidence in yourself and relaxes your mind. Trust me, nothing is scarier than a blank canvas. The key here is to have fun. Don't worry about the quality of the sketches. Also, feel free to draw other things too.
For this tutorial, you can either follow my instructions using traditional media such as pencil and paper or digitally with a drawing app. The choice is up to you. To keep things simple for me, I like creating these tutorials using Procreate because it saves me time and the hassle of scanning images to my computer. If you are a Procreate user, check out my FREE brushes at the link below; this is my go-to set when creating artwork in this app.
If you are a digital user, use blue for sketching. For pencil and paper users, keep your marks light. The directions are as followed.
Step one is to sketch out a simple sketch of a women's torso. This torso will consist of the rib cage and pelvic. With that in mind, loosely sketch out an oval shape with a concave curve at the bottom. Then draw the pelvic as a trapezoid with bowed segments. Also, give a little space to separate the rib cage and pelvic. After you sketch out the ribs and hips, add a centerline and lines for the love handles.
When it comes to drawing a women's torso, remember that the hips are "wider" than the upper body, this will keep your sketch looking feminine. If you are confused, please watch my video so you can see how I draw this.
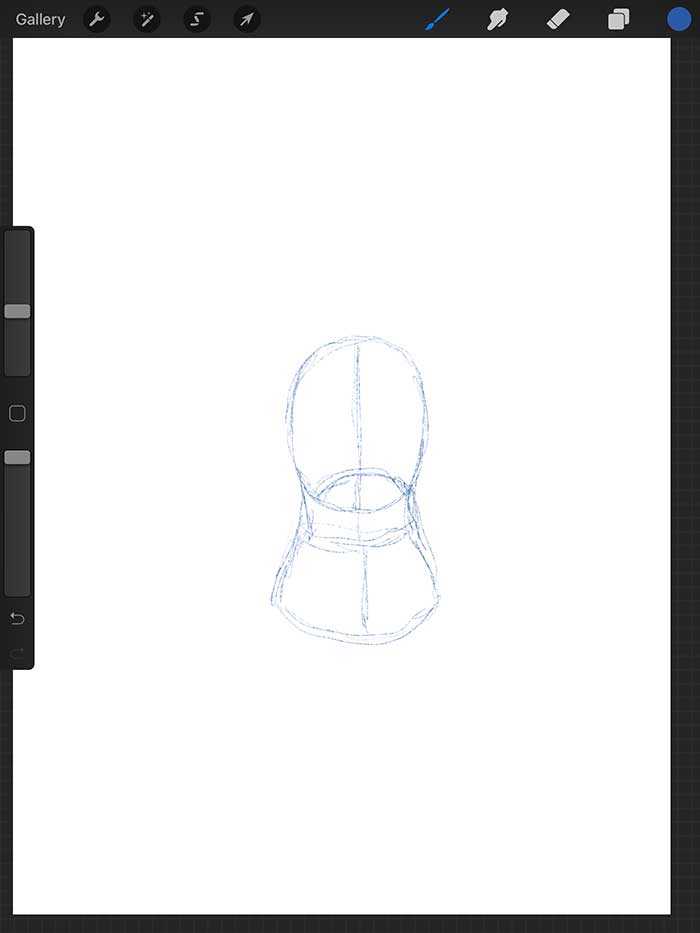
Next, draw in the clavicle and shoulder blades. For the clavicle, simple lines that are angled about 20° are fine. And for the shoulder blades, let's keep these simple by drawing upside-down triangles.
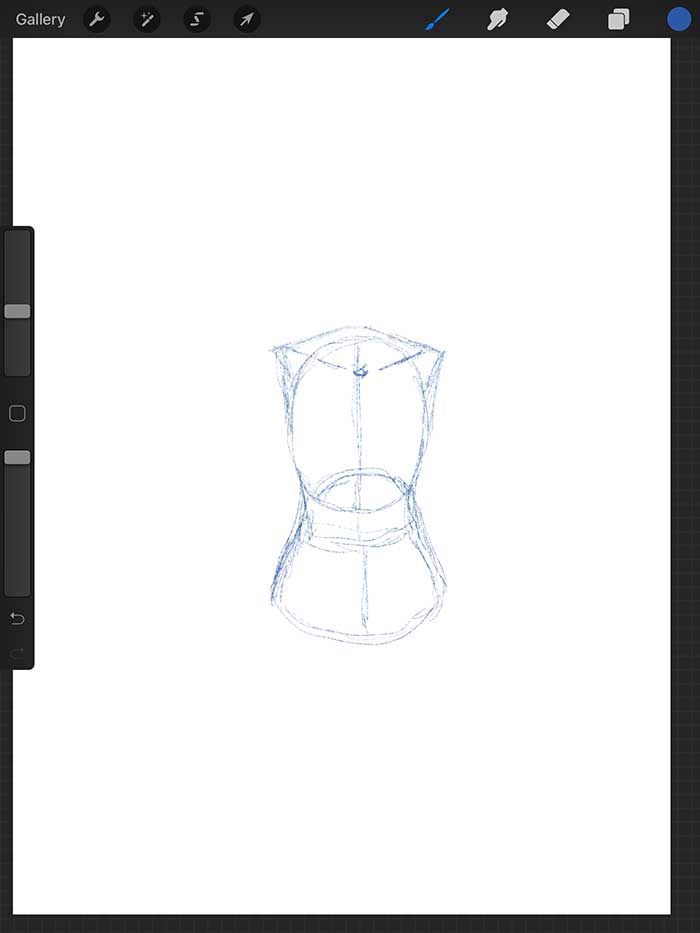
Once you have your basic women's torso sketched out, you can now add in the boobs. To do this, draw two egg shapes on the rib cage. Also, angle your egg shapes to the center of the clavicle. The bottom of the breast ends a bit above the bottom of the rib cage. Add center lines to your boobs. Make sure to follow the angle of your shapes. You can also add the belly button; this is around the top or slightly above the pelvic.
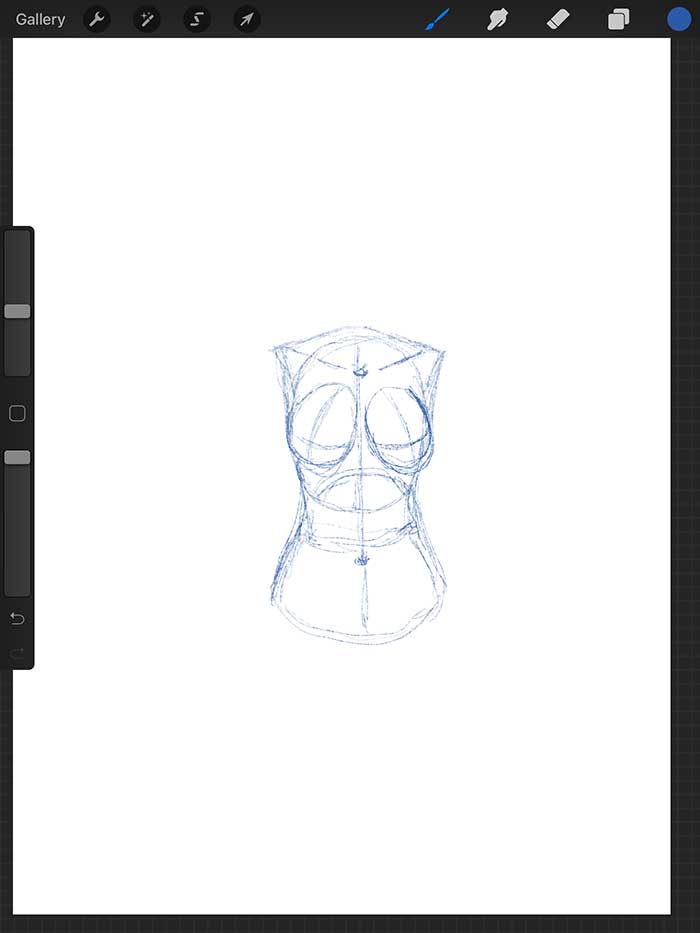
After you complete your boob sketch, drop the layer opacity of your layout to about 30%. For pencil and paper users, make sure your sketch marks are light.
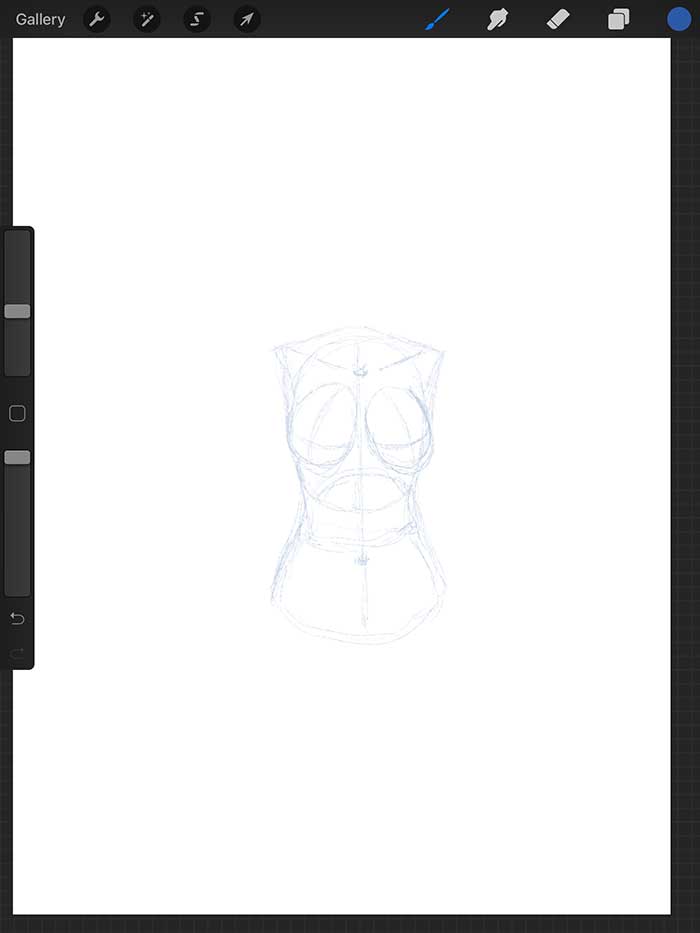
If you are a drawing app user, create a second layer on top of your sketch drawing. Switch your brush color from blue to black. On this layer, refine the details of your sketch drawing. Here I want you to focus on the boobs, clavicle, and overall shape of the torso. Notice which areas I focus on in my diagram. Do not refine all your lines in your sketch. We need to be selective and omit the lines that are just guides.
Traditional users, refine your details by pressing firmer on your pencil.
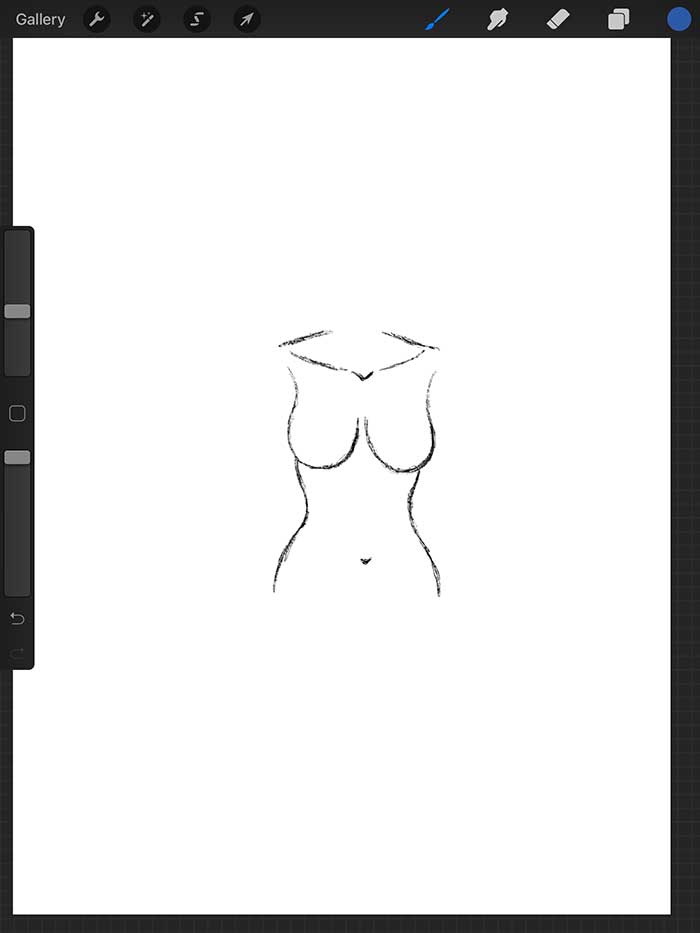
For digital users, create a third layer and place it on the top of all your other layers. Use this layer to add shadows and extra details to your drawing. As for the traditional user, keep working on your illustration. Use your eraser to remove any unwanted guides.
Now that you have your line drawing complete, you can now add shadows to your women's torso and boobs! Don't be afraid to add a good cast shadow below the boobs. By adding this detail, you will make your boobs pop from the rib cage and add depth. Another shading tip for boobs is shading below the clavicle around the upper edge of the torso. This shading is lighter than the cast shadow. Be cautious when you add this shadow.
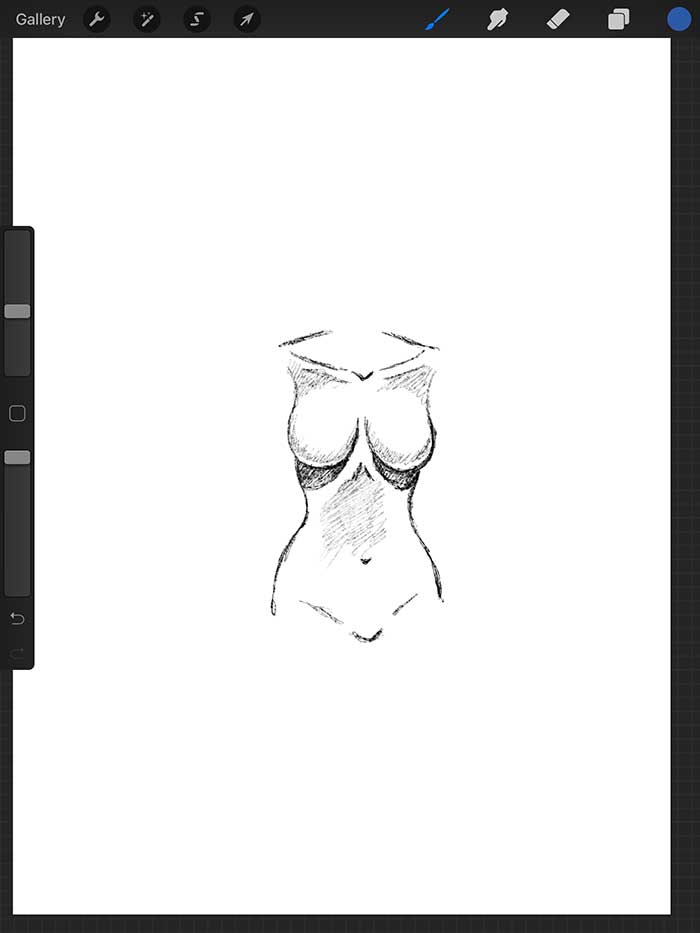
That was the last step, and if you're a digital user. Your layer panel should look something like this diagram.

If you made it this far, you have completed drawing your torso with boobs. And that's how you draw boobs! Give yourself a high five! If your drawing didn't come out looking like mine, don't worry. It takes time and lots of practice to draw a good torso. Keep practicing, and remember my tips! You will get better, but you need to be patient.
As stated earlier, I would link some helpful books that might help you.
All these books I own and are great for learning human anatomy. I give them my stamp of approval! In the future, I will eventually have my anatomy tutorials! Make sure you subscribe to my emailing list for the latest tutorials and news!
I hope this tutorial was helpful to you. I know from experience how hard it can be to draw at times, and I feel like in this day in age, there is so much information out there. My goal with "How To Draw Dojo" is to help aspiring artists better themselves with their art. With that in mind, you can share this tutorial with your friends and family. Also, don't forget to follow me on Instagram @howtodrawdojo and @dreampigment. With your support, it helps motivate me to create more free content like this. And I want to thank you in advance!
If you have any questions in regards to this tutorial, feel free to leave a comment below. Also, you can contact me directly via email. And remember to have fun when you draw!